How to build the CONNETIX Rainbow

Tags
Recently I was fortunate enough to witness a stunning continuous rainbow in our skies. It’s very rare to see something like that; rainbows are often considered rare and magical because they require specific conditions to occur. This rainbow ignited within me a newfound inspiration to recreate its timeless beauty using CONNETIX.
Rainbows, big or small, have a captivating effect on us. We can’t help but stare, totally mesmerised, until they fade away. And kids? They find them magical, eyes shining with wonder and joy.
For many beginners, the rainbow is one of the favorite objects to build with CONNETIX.

However, it’s not an easy build! I’ve put together the steps to help your CONNETIX Rainbow dreams become reality.
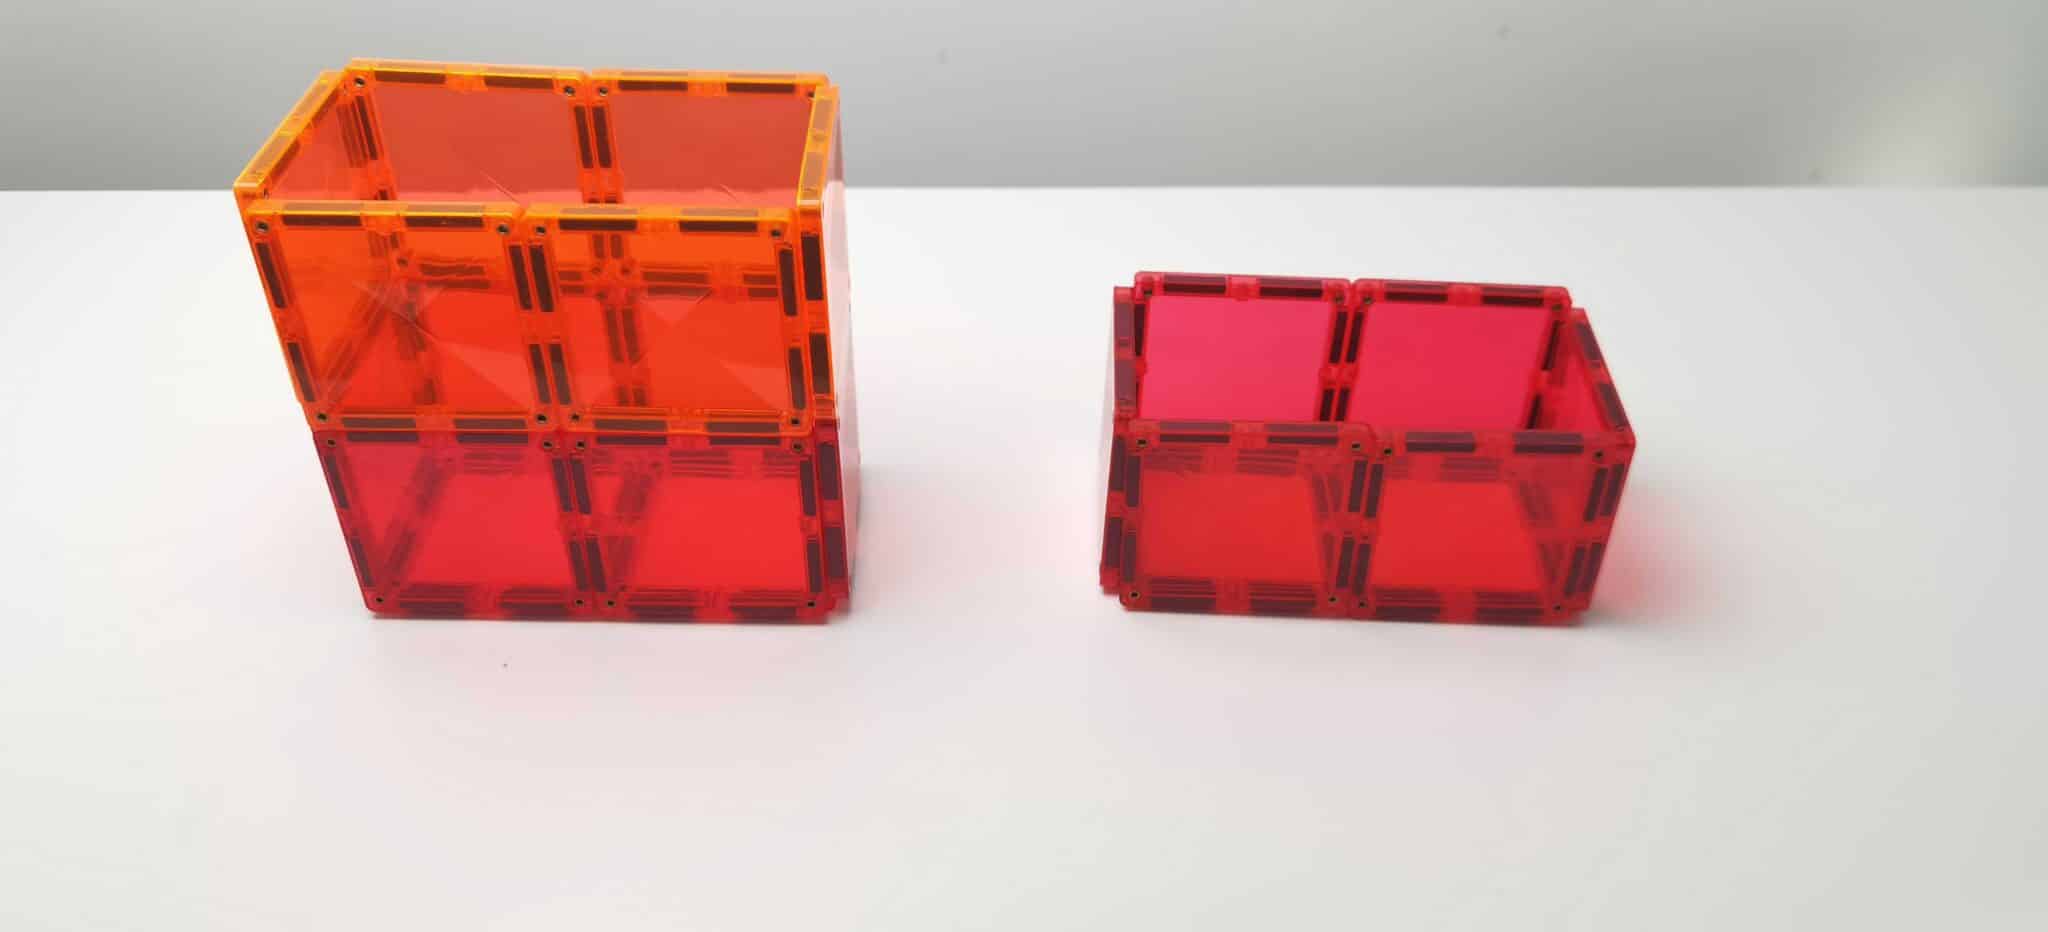
Create two red rectangular boxes using 16 small equilateral squares, with 8 squares for each box. Make sure to angle the bottom tiles towards the center as shown in the video. This technique will keep the whole build inclined to the center that will help us attach the last tile easily.
We are building the two opposite sides simultaneously. Now add a rectangular box in orange color on top of each of the red boxes. As shown in the video, push down the center part lightly to keep the builds leaning toward the middle.
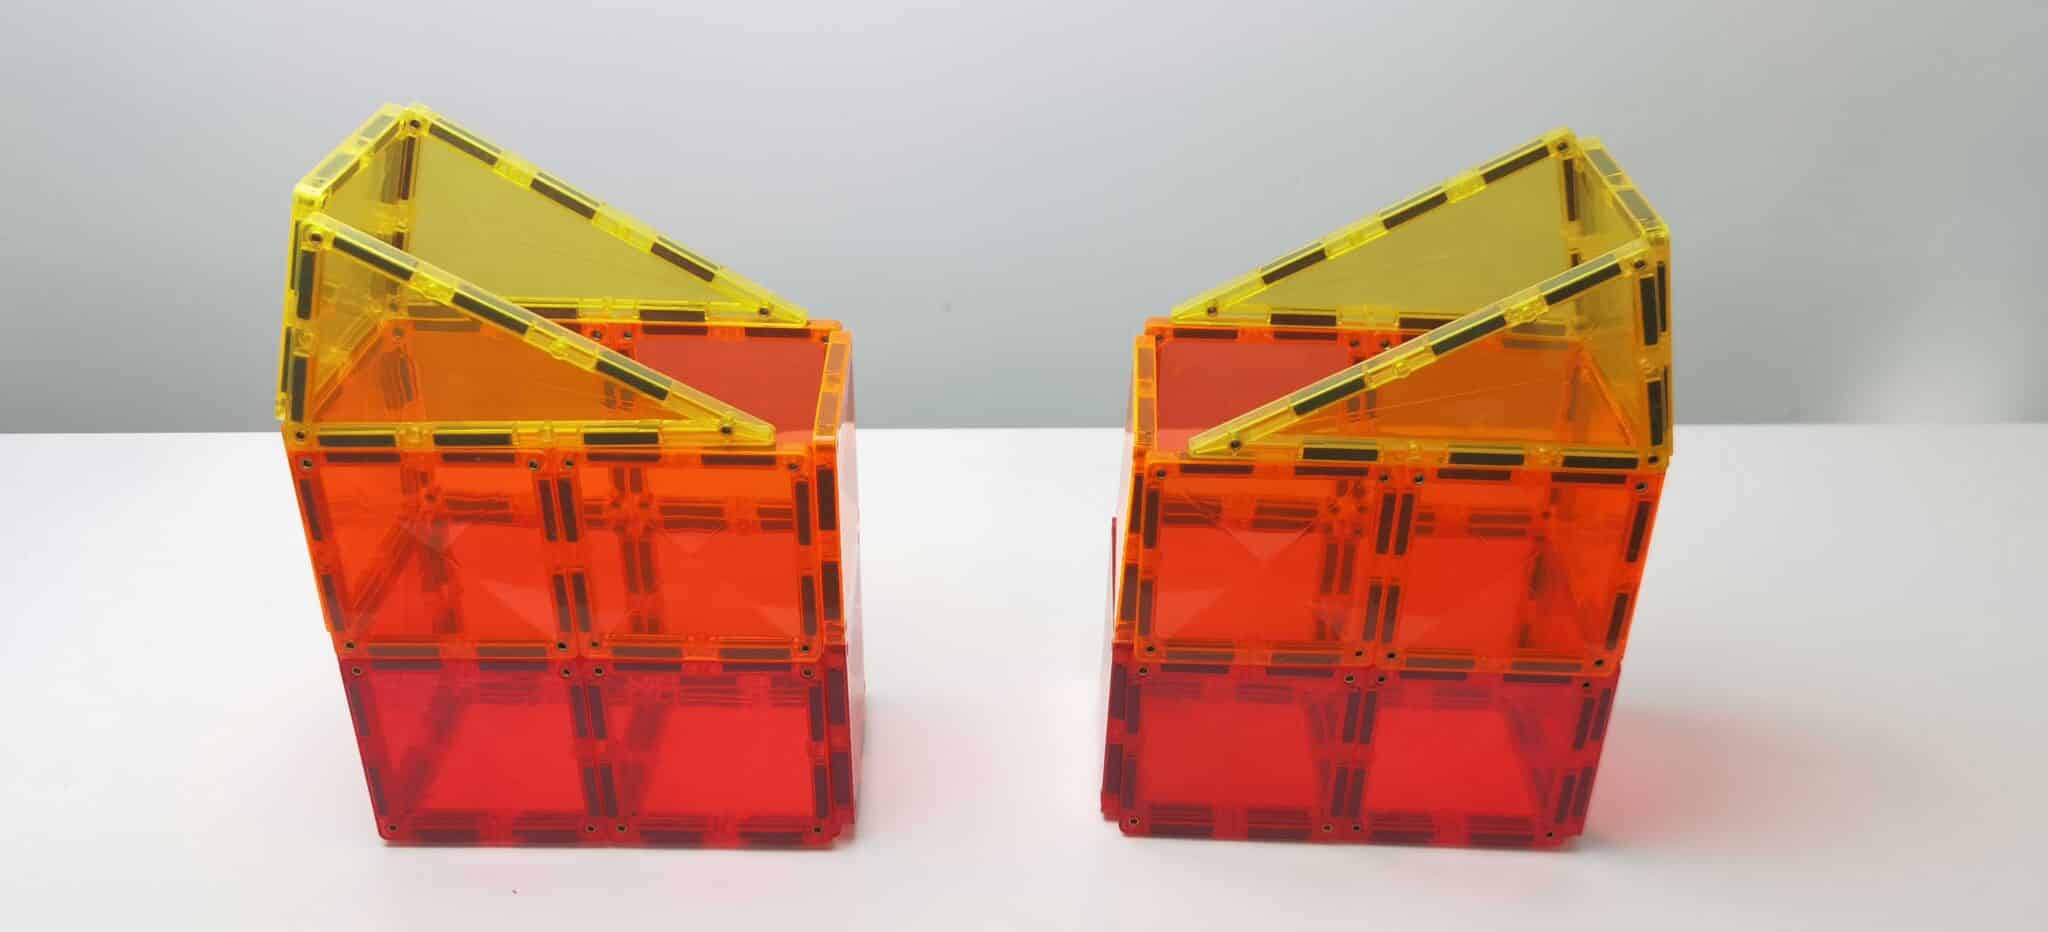
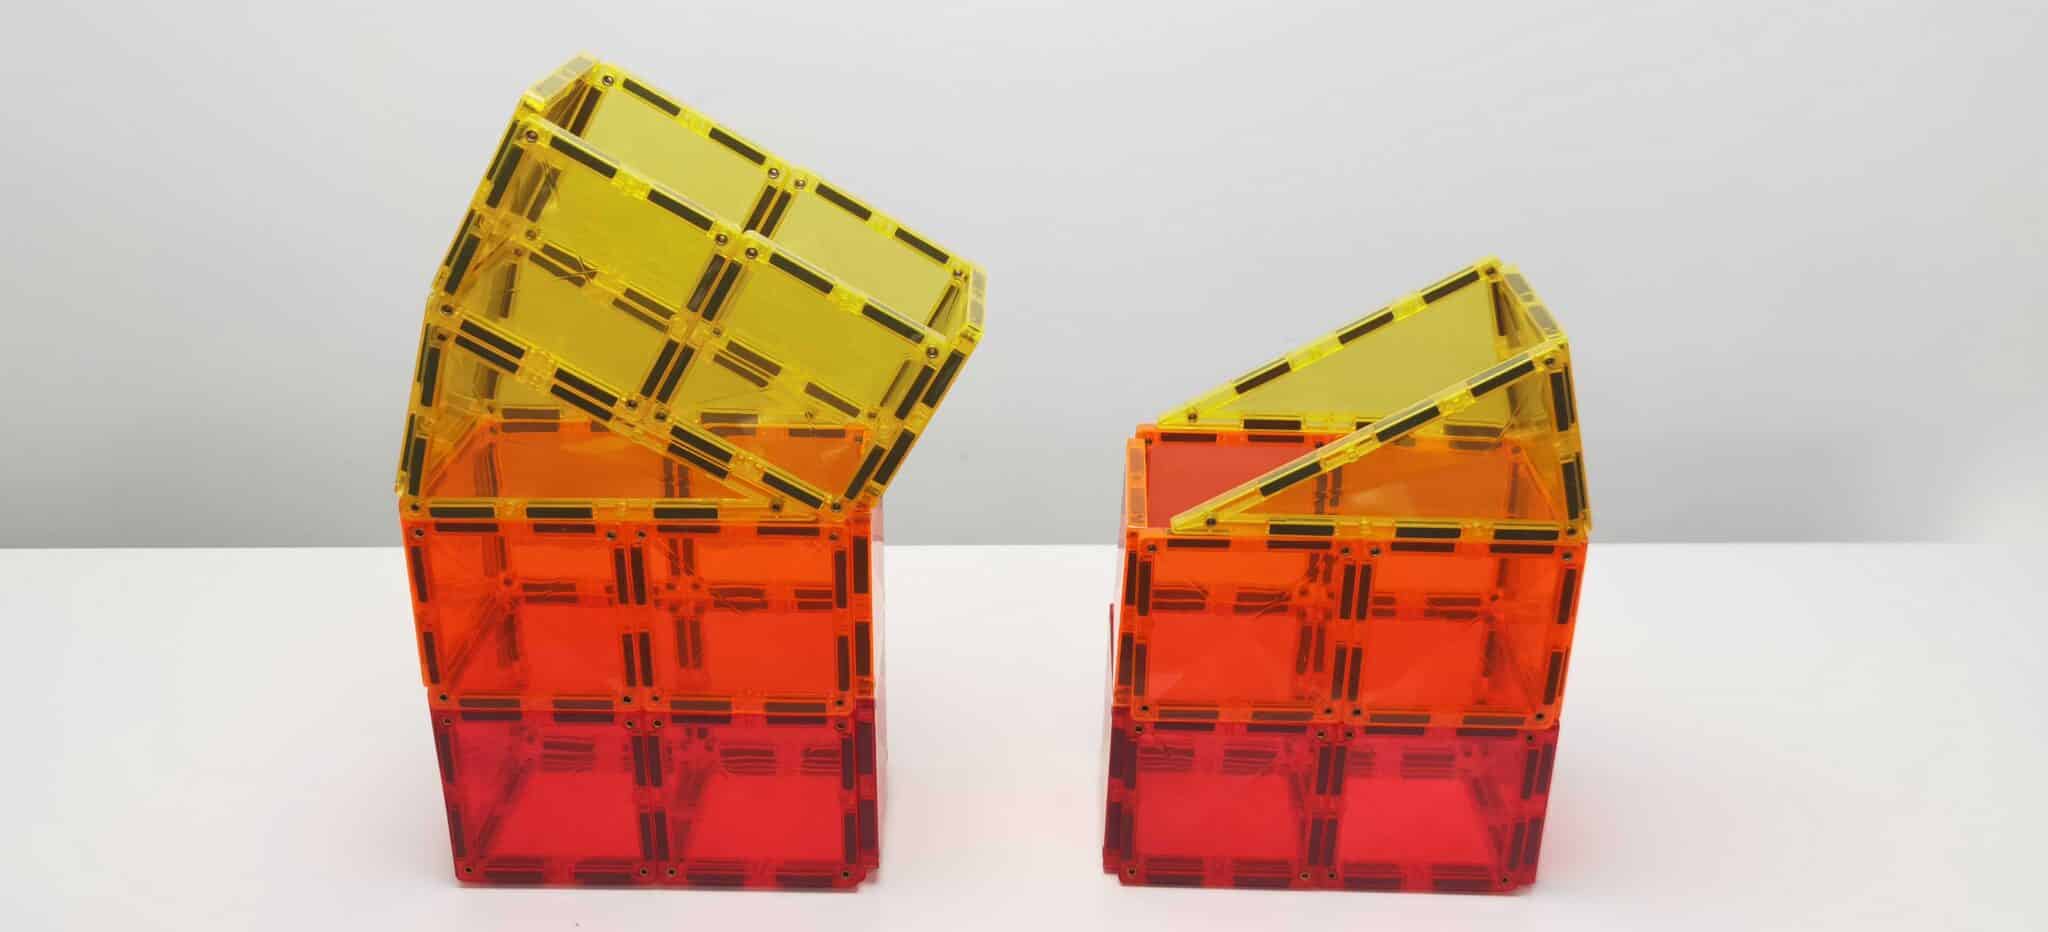
Add 2 yellow isosceles triangles and 1 small equilateral square as the third layer on each build. Position the triangles on opposite sides of the rainbow towards each other.
The next layer is another rectangular box on top of each build. Adjust the tiles if necessary to keep them in place.
Repeat Step 3 and this time with the green tiles.
The middle part is a purple rectangular box. To do this, join the two builds with 6 purple small equilateral squares. Start with the top and then the front. Then add the bottom tile and lastly the back tiles.
Have fun exploring!
Don’t forget to share your creations with the CONNETIX Community, we love to see what you make! @connetix_tiles #connetix

Lucy is a mom and content creator on Instagram, passionate about building big architectural structures with CONNETIX. She considers herself as an #adultswhoconnetix, and loves sharing play ideas, how-to-videos and her love for indoor gardening.

With the blue tiles, repeat step 4 and then do step 3 again for the next two layers respectively. This part will be a bit tricky to do as the builds are getting higher and heavier. The weight of the tiles will be focused on the center. Adjust the tiles, if necessary, like sliding the builds slowly into position just enough for them to be connected by the last and middle part of the rainbow later.


There are other techniques used to keep the rainbow build stable as some have difficulties connecting the last middle bottom tile. These techniques may or may not work for you.

(16 red tiles, 12 orange tiles, 14 yellow, 2 green, 14 blue and 6 purple)
(4 yellow, 4 green and 4 blue)
Menu
 Australia