Menu
Shipping to Australia
Australia
Menu
Australia
Tags




Jarmila is a devoted mom of four whose passion lies in homeschooling and nurturing creativity through play. With years of experience in homeschooling her children, she's a strong advocate for this educational approach. Jarmila thrives on fostering open-ended play, believing it to be a cornerstone of childhood development. Her life is a joyful whirlwind centered around her children and the boundless world of imaginative play.
The Witch is a classic Halloween character, making a Witch ball run a must-do! My little girl, a tough critic, took charge of designing this one. It was her idea to add the broom in such a way that made building the ball run a bit trickier—but she was absolutely right. After all, what’s a witch without her broom?
Clear tiles
6x 4-Square rectangles
8x 3-Square rectangles
8x 2-Square rectangles
20x Small squares
8x Small Right-angled triangles
1x Small rectangle
Black tiles
2x 3-Square rectangles
2x 2-Square rectangles
12x Small squares
4x Small rectangles
Other tiles
5x 3-Square rectangles
6x 2-Square rectangles
36x Small squares
10x Isosceles triangles
5x Large Right-angled triangles
8x Small Right-angled triangles
2x Rhombi
6x Small rectangles
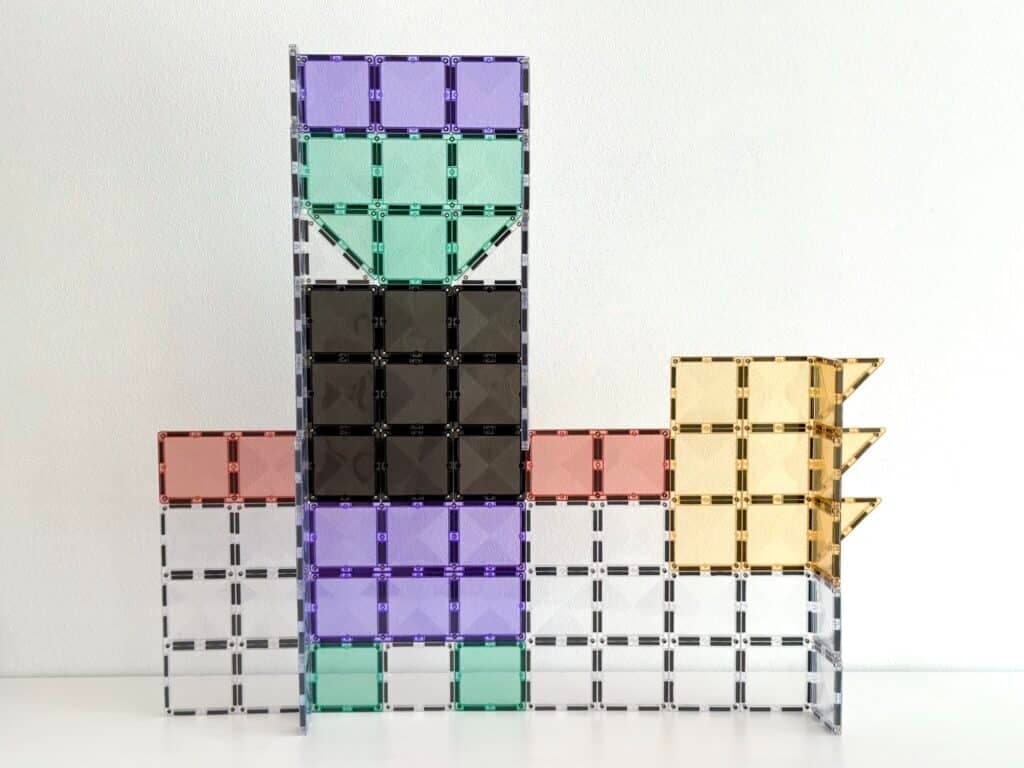
1. The first step is to build the back of the ball run and create the support with clear rectangles placed vertically along the left side of the witch, and to the right side of the broom. Also add 2 rectangles on the right side of the witch, starting from the middle black tile to the top of the ball run.
2. Add rectangles for the different levels of the ball run, and place 2 triangles either side of a square tile to create the slopes. For the first slope use the small rectangle instead of the triangles.
3. Close the front with the same colors as the tiles you used for the back. Then, close the top side of the broom and add 2 black small rectangles for shoes.
4. Lastly, finish building the hat with right-angled triangles, isosceles triangles and the small rectangles for an extra touch! Close the front side of the hat with two square tiles. Add the hair, hands, belt and shape the skirt with two isosceles triangles. If you want, you can define the witch’s face with a few elements to your liking.
Tip
No need to worry if you don’t have enough triangles or matching tiles for the witch! She’ll look just as stunning with a hat or outfit made from a mix of colourful tiles.
Now the witch is ready to fly!
Would you like to create more Halloween themed Ball Runs?
Check out these two blogs!
Have fun!