Connecting Domino Tracks: Strategies for Expanding Your Designs

Tags
Setting up a domino track is an engaging and educational process that fosters analytical thinking and problem-solving through experimentation. The challenge of connecting independent domino tracks introduces an exciting new dimension, deepening understandings of momentum, shape dynamics, and magnetic properties.
In this blog post, I present methods for seamlessly connecting domino tracks, leveraging the unique properties of magnetic tiles to create dynamic, cascading effects.
Method A:
Adding an Extension Track
A straightforward approach to connecting domino tracks is by incorporating an extension segment. Below are two methods demonstrating how to effectively bridge two straight tracks built with square tiles.
This method is the simplest and least prone to failure.
Tiles Required:
Method B:
Implementing a Trigger Mechanism
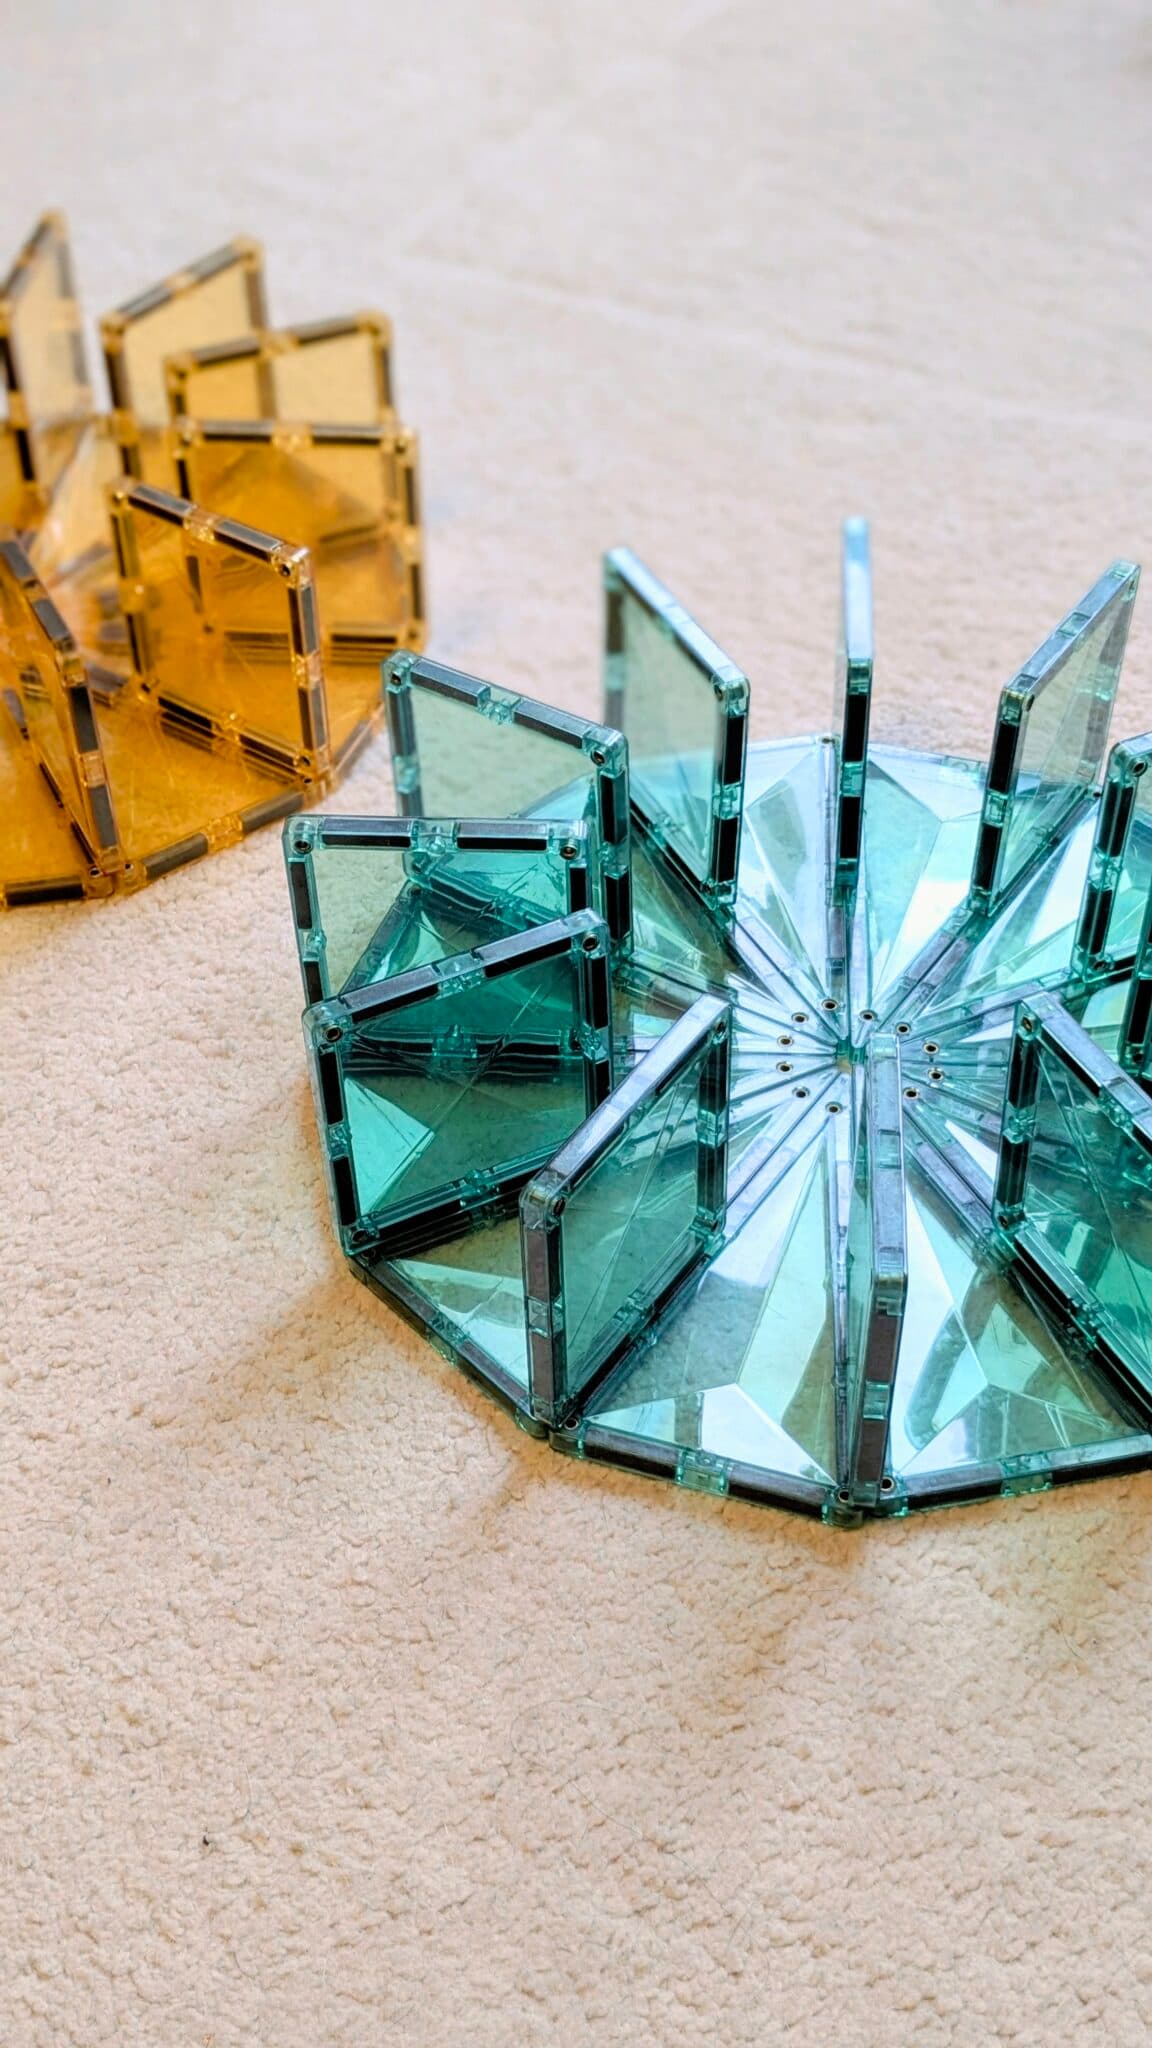
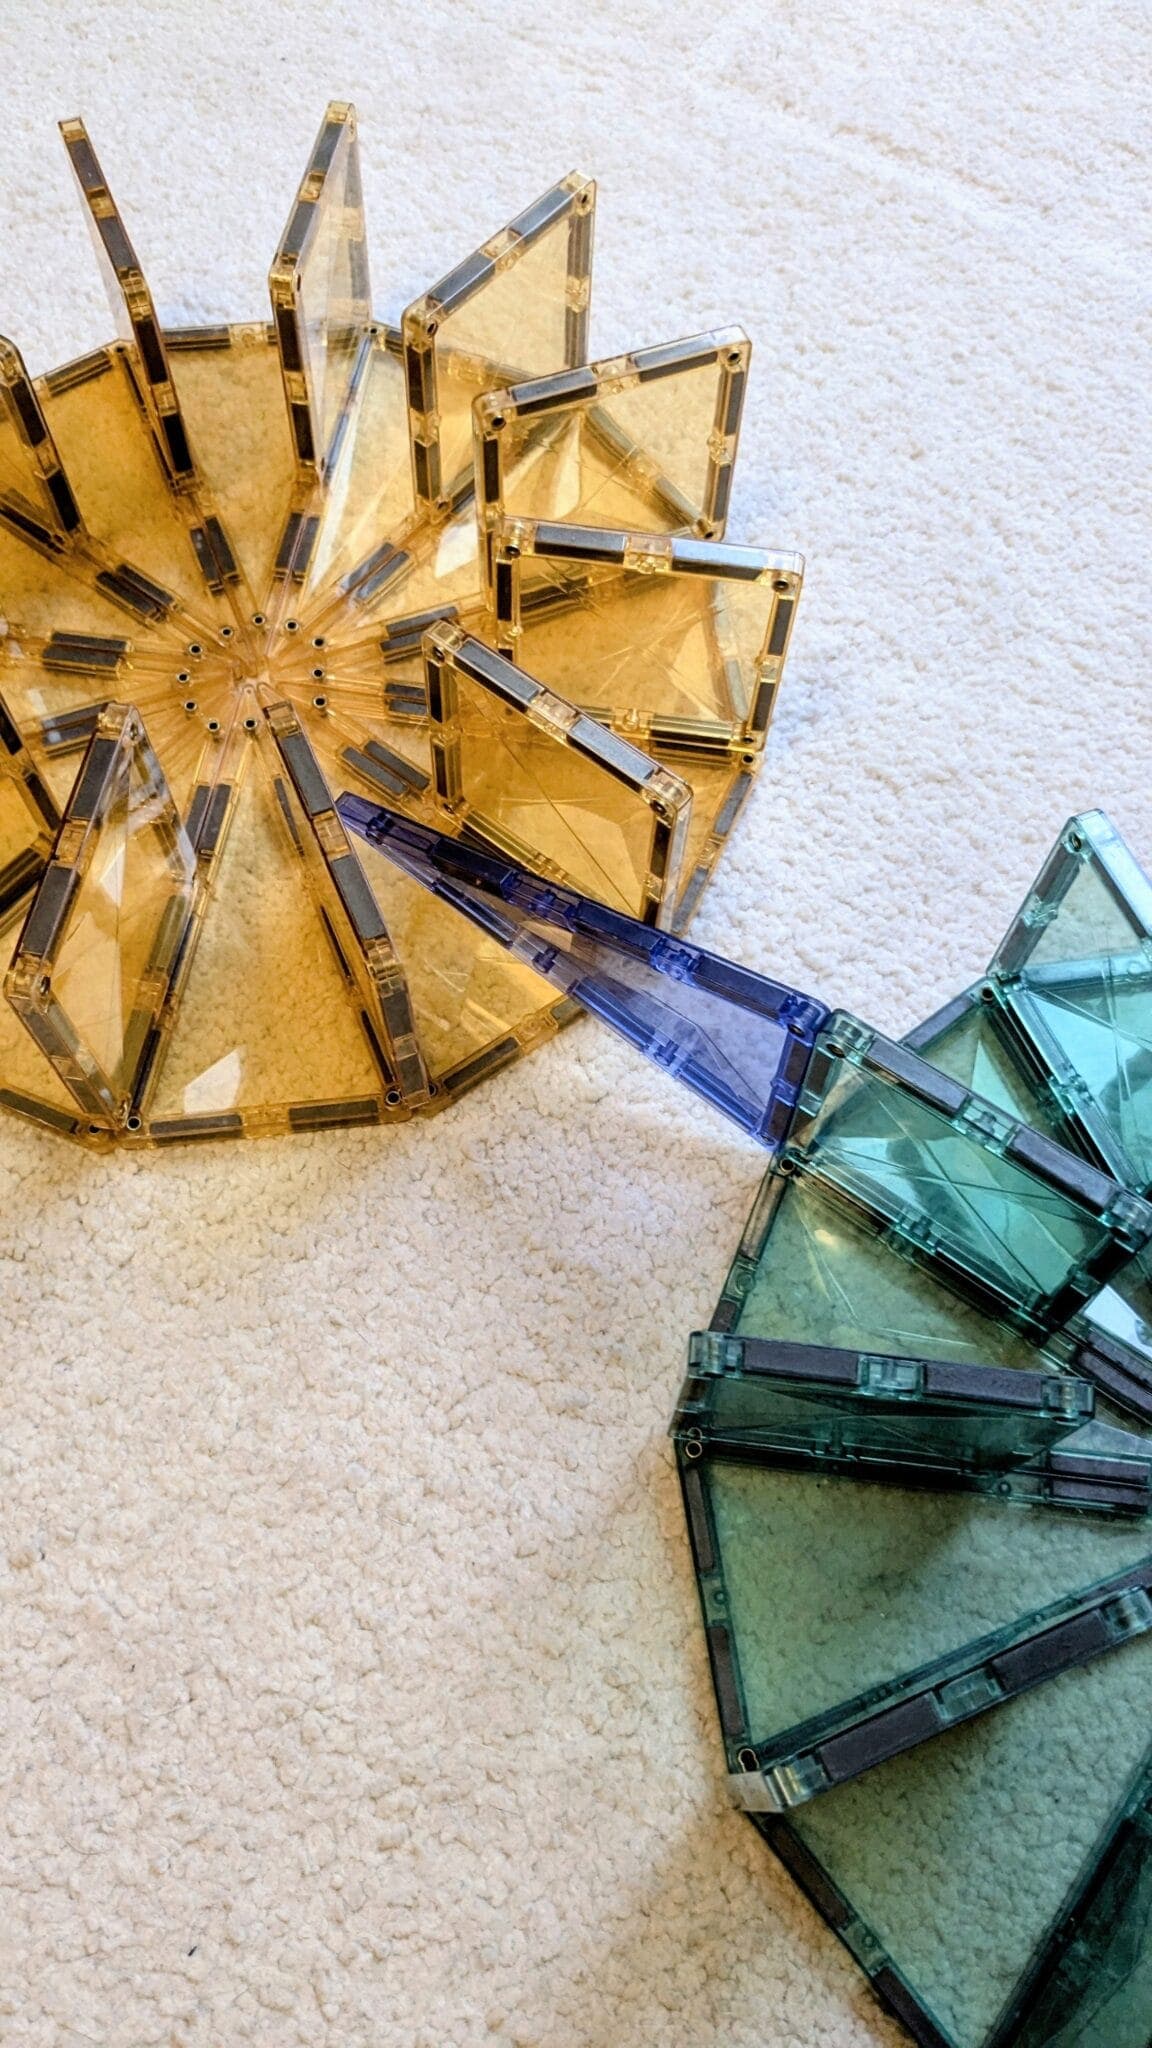
1. Place two circular domino tracks (1 & 2) close to one another so that a large square tile junction in both tracks is aligned
2. Place a large square tile over the alignment, effectively bridging the two tracks. When the first sequence in Track 1 collapses, the large square tile falls, triggering the domino effect in Track 2.
Alternative: A short rectangle or two square tiles may replace the large square tile, however this requires the two tracks to be physically in contact.
Instructions:
1. Place square tiles on both domino tracks (1 & 2).
Alternative: If sufficient momentum is maintained, a square tile may replace the isosceles tile.
1. Place square tiles on both circular domino tracks
Now that we’ve covered techniques for connecting tracks of similar shapes (straight or circular), let’s explore how to link straight and circular domino tracks. The approach varies depending on the order in which they are connected.
This approach requires precise alignment to ensure a continuous domino effect.
Instructions:
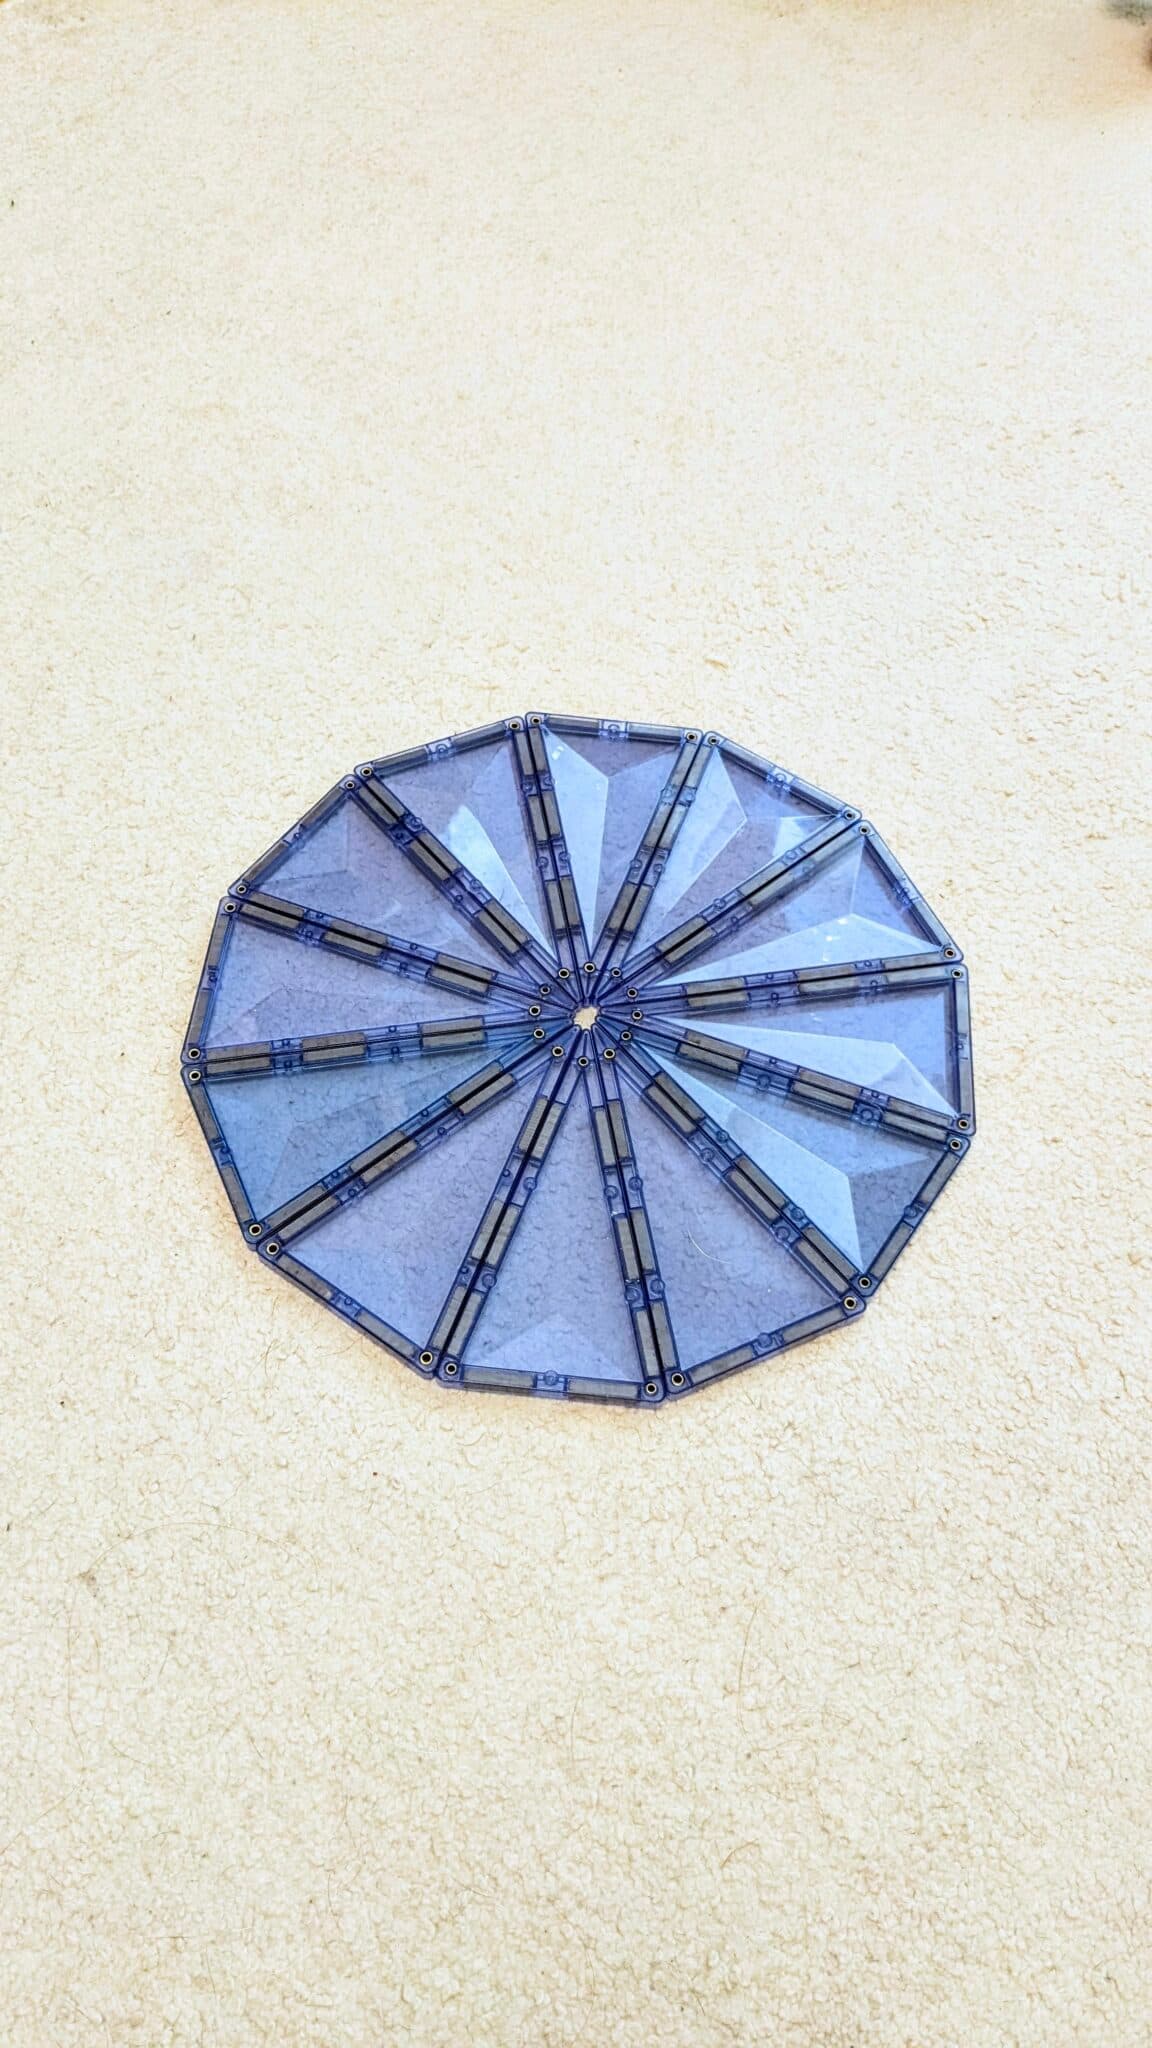
1. Create a circular domino track using 12 isosceles triangles
2. Place 9 isosceles triangles continuously on top.
3. Place a trapezoid tile on the isosceles base tile where the straight track will be attached.
4. Place a square tile as the next falling tile.
5. Attach a straight domino track to the isosceles tile supporting the trapezoid tile on the circular track.
6. Place an isosceles tile at the junction where the two tracks meet.
Instructions:
3. Attach a straight track adjacent to the isosceles tile supporting the diamond tile

Lisa is a qualified teacher working at a school for students with additional needs. She is the mumma of a wonderful and wild son. She loves day trips, traveling and good coffee. She is passionate about learning through play enjoys setting up open-ended educational play activities.

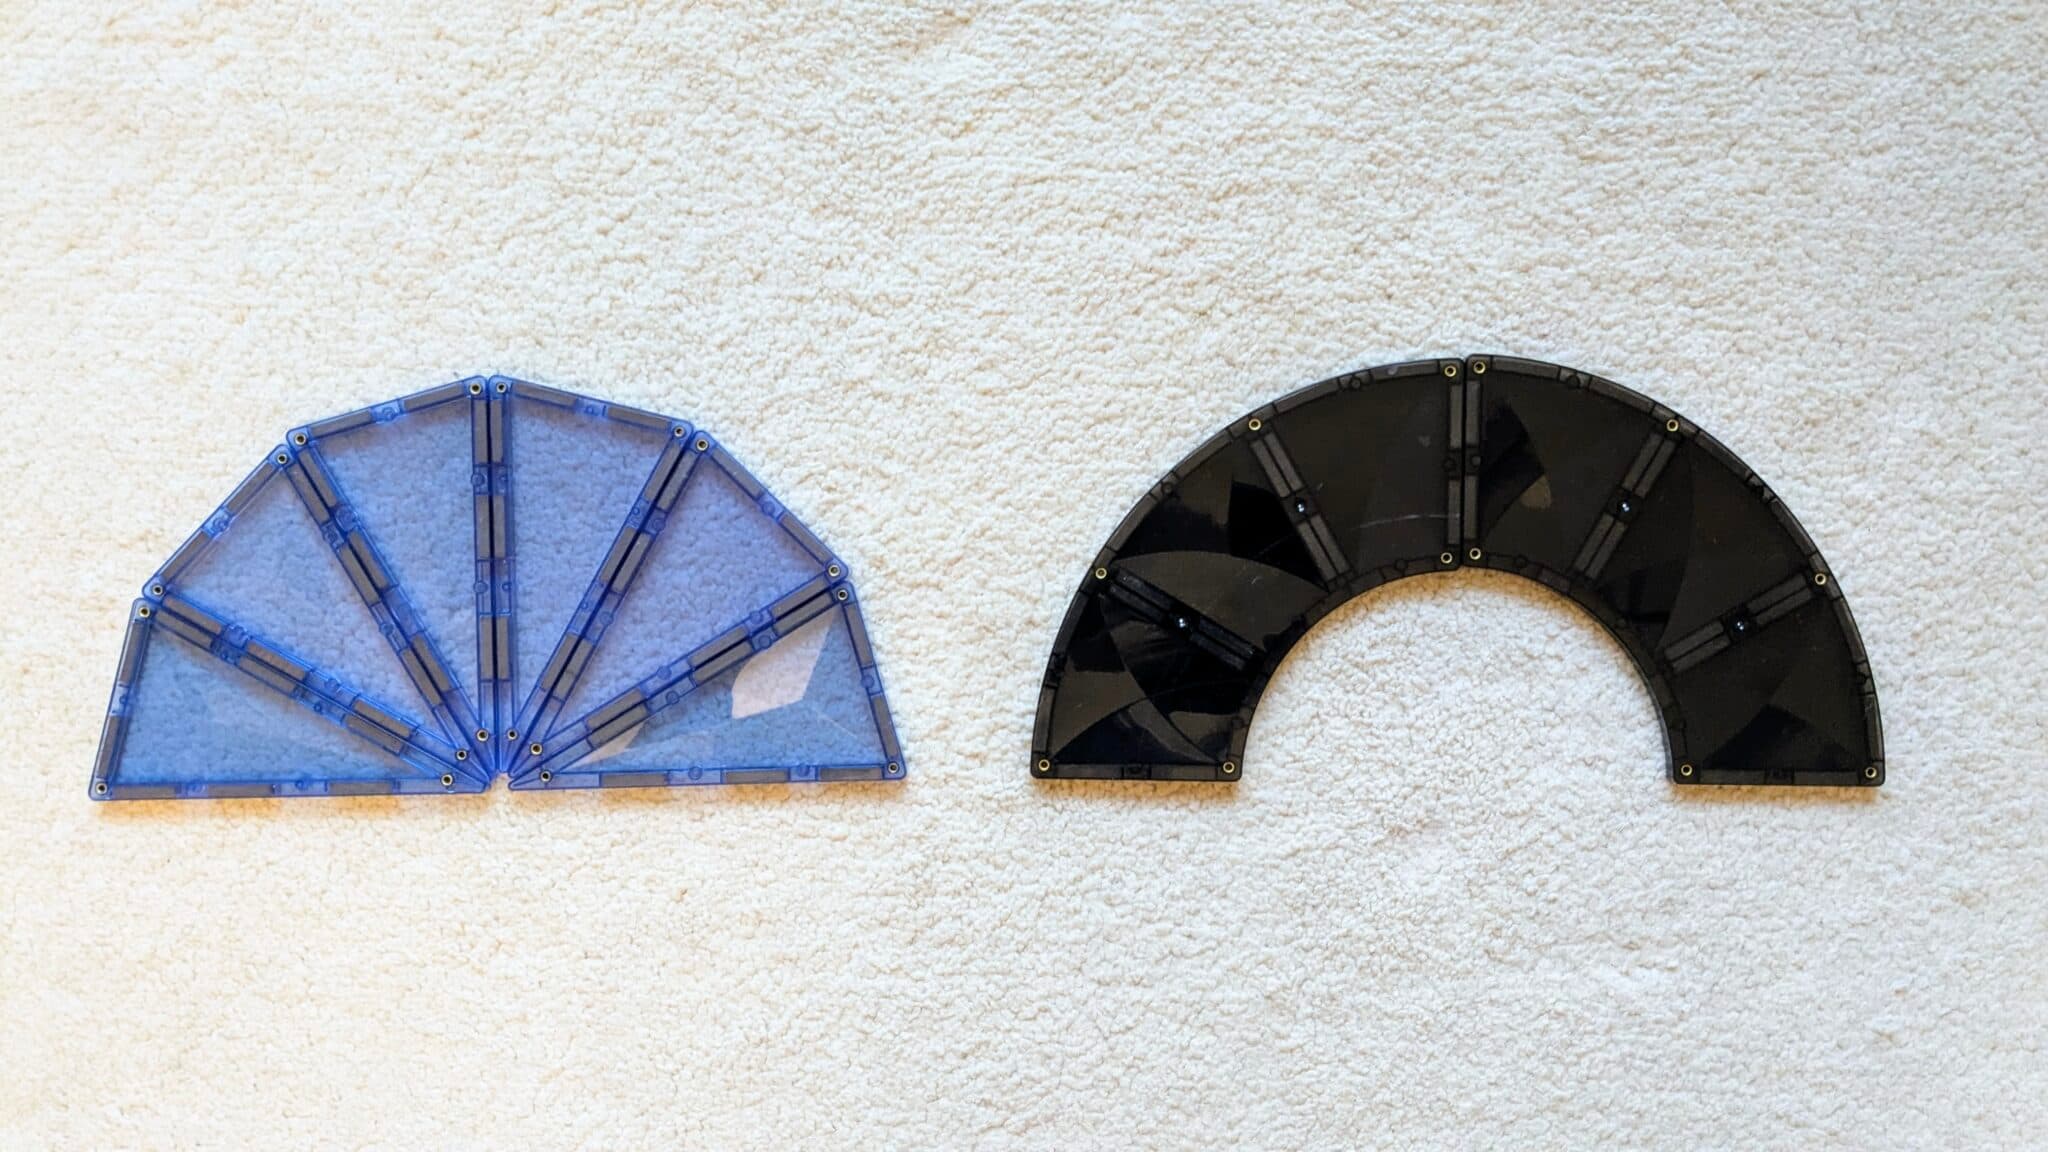
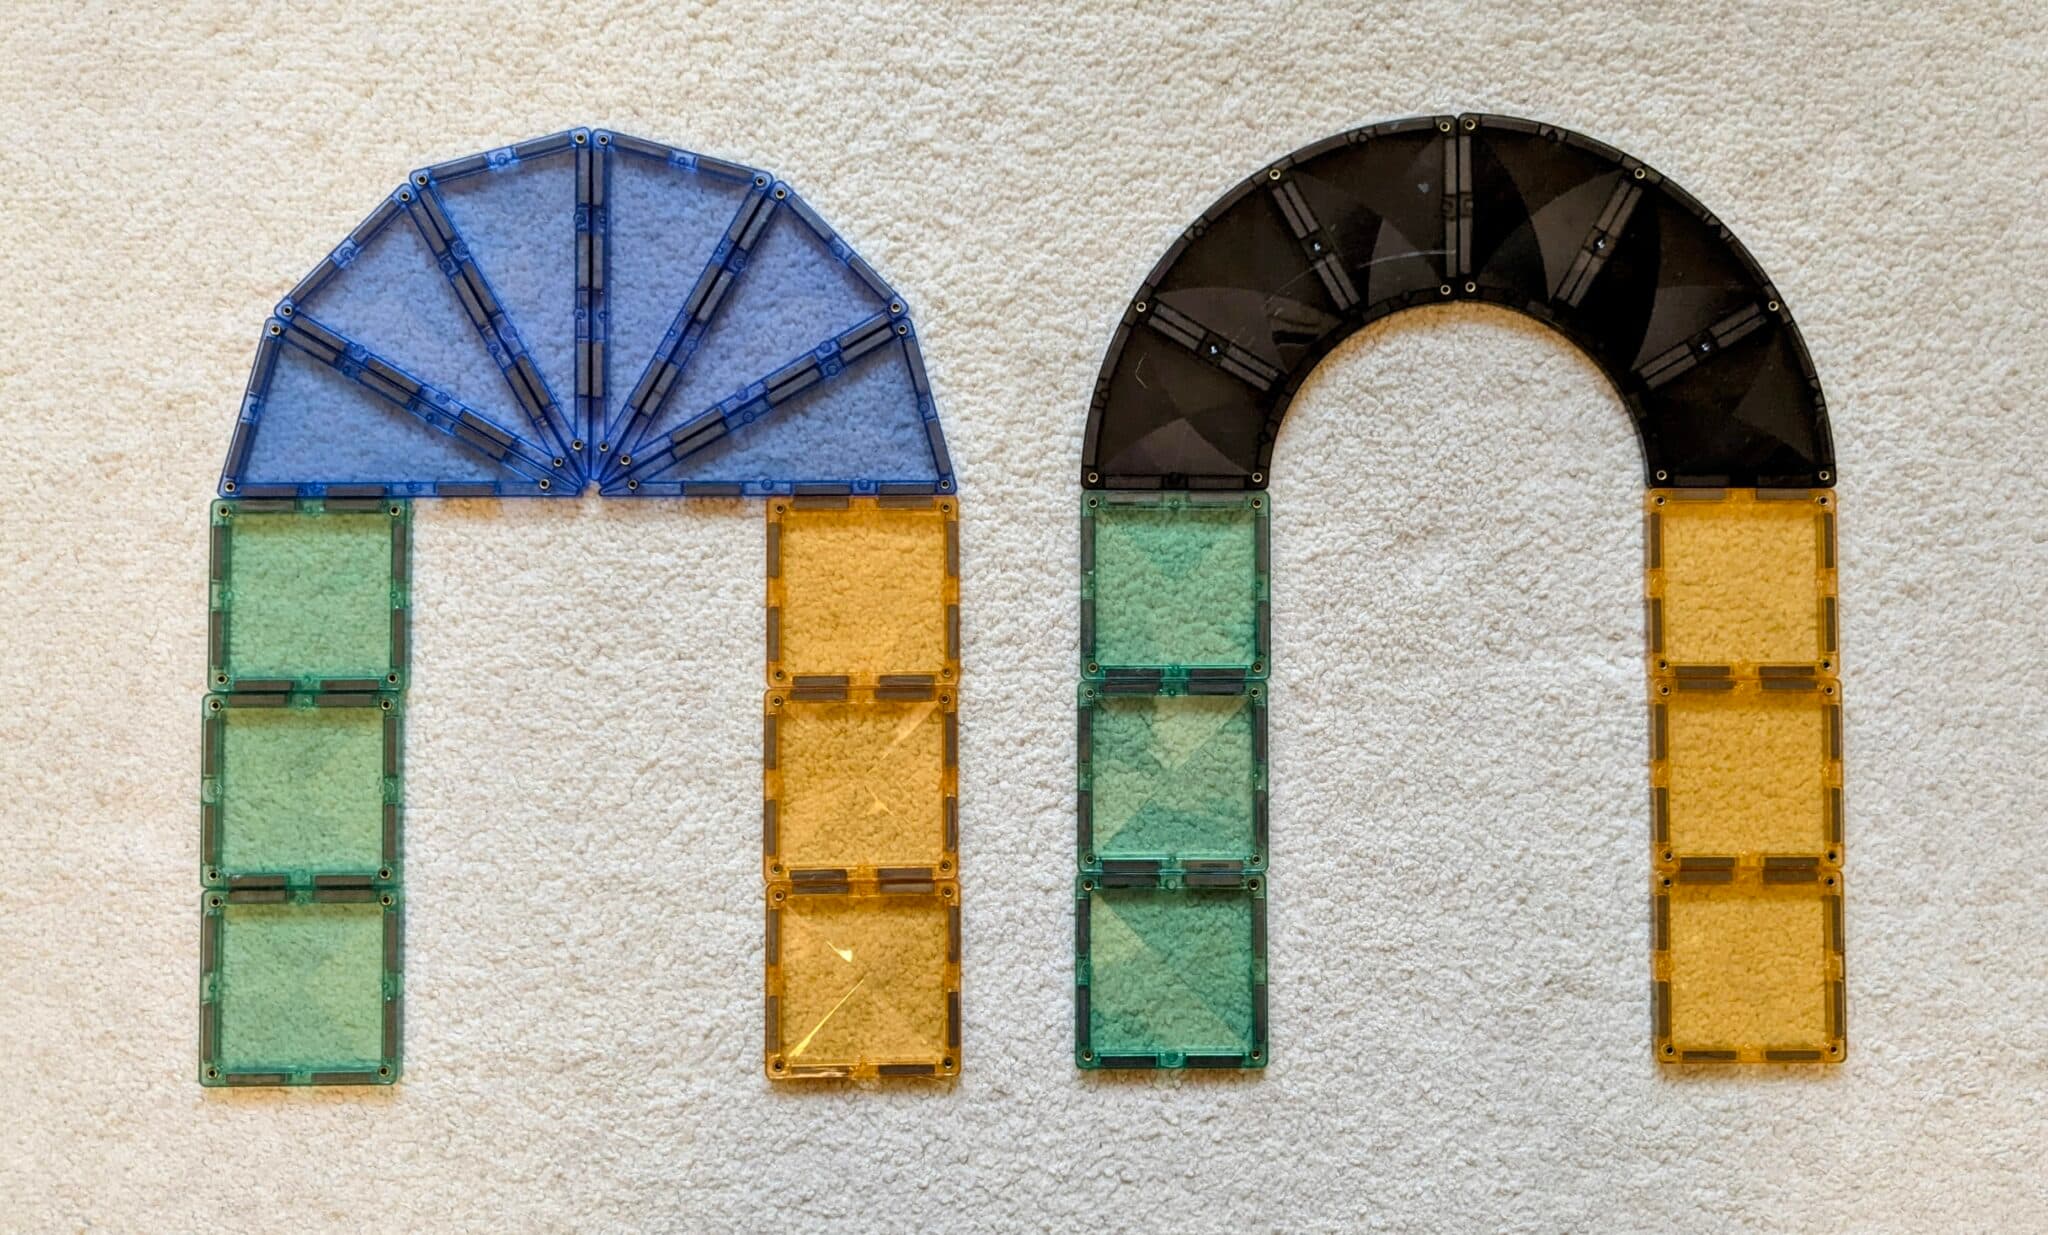


This approach requires precise alignment to ensure a continuous domino effect.
Tiles Required:
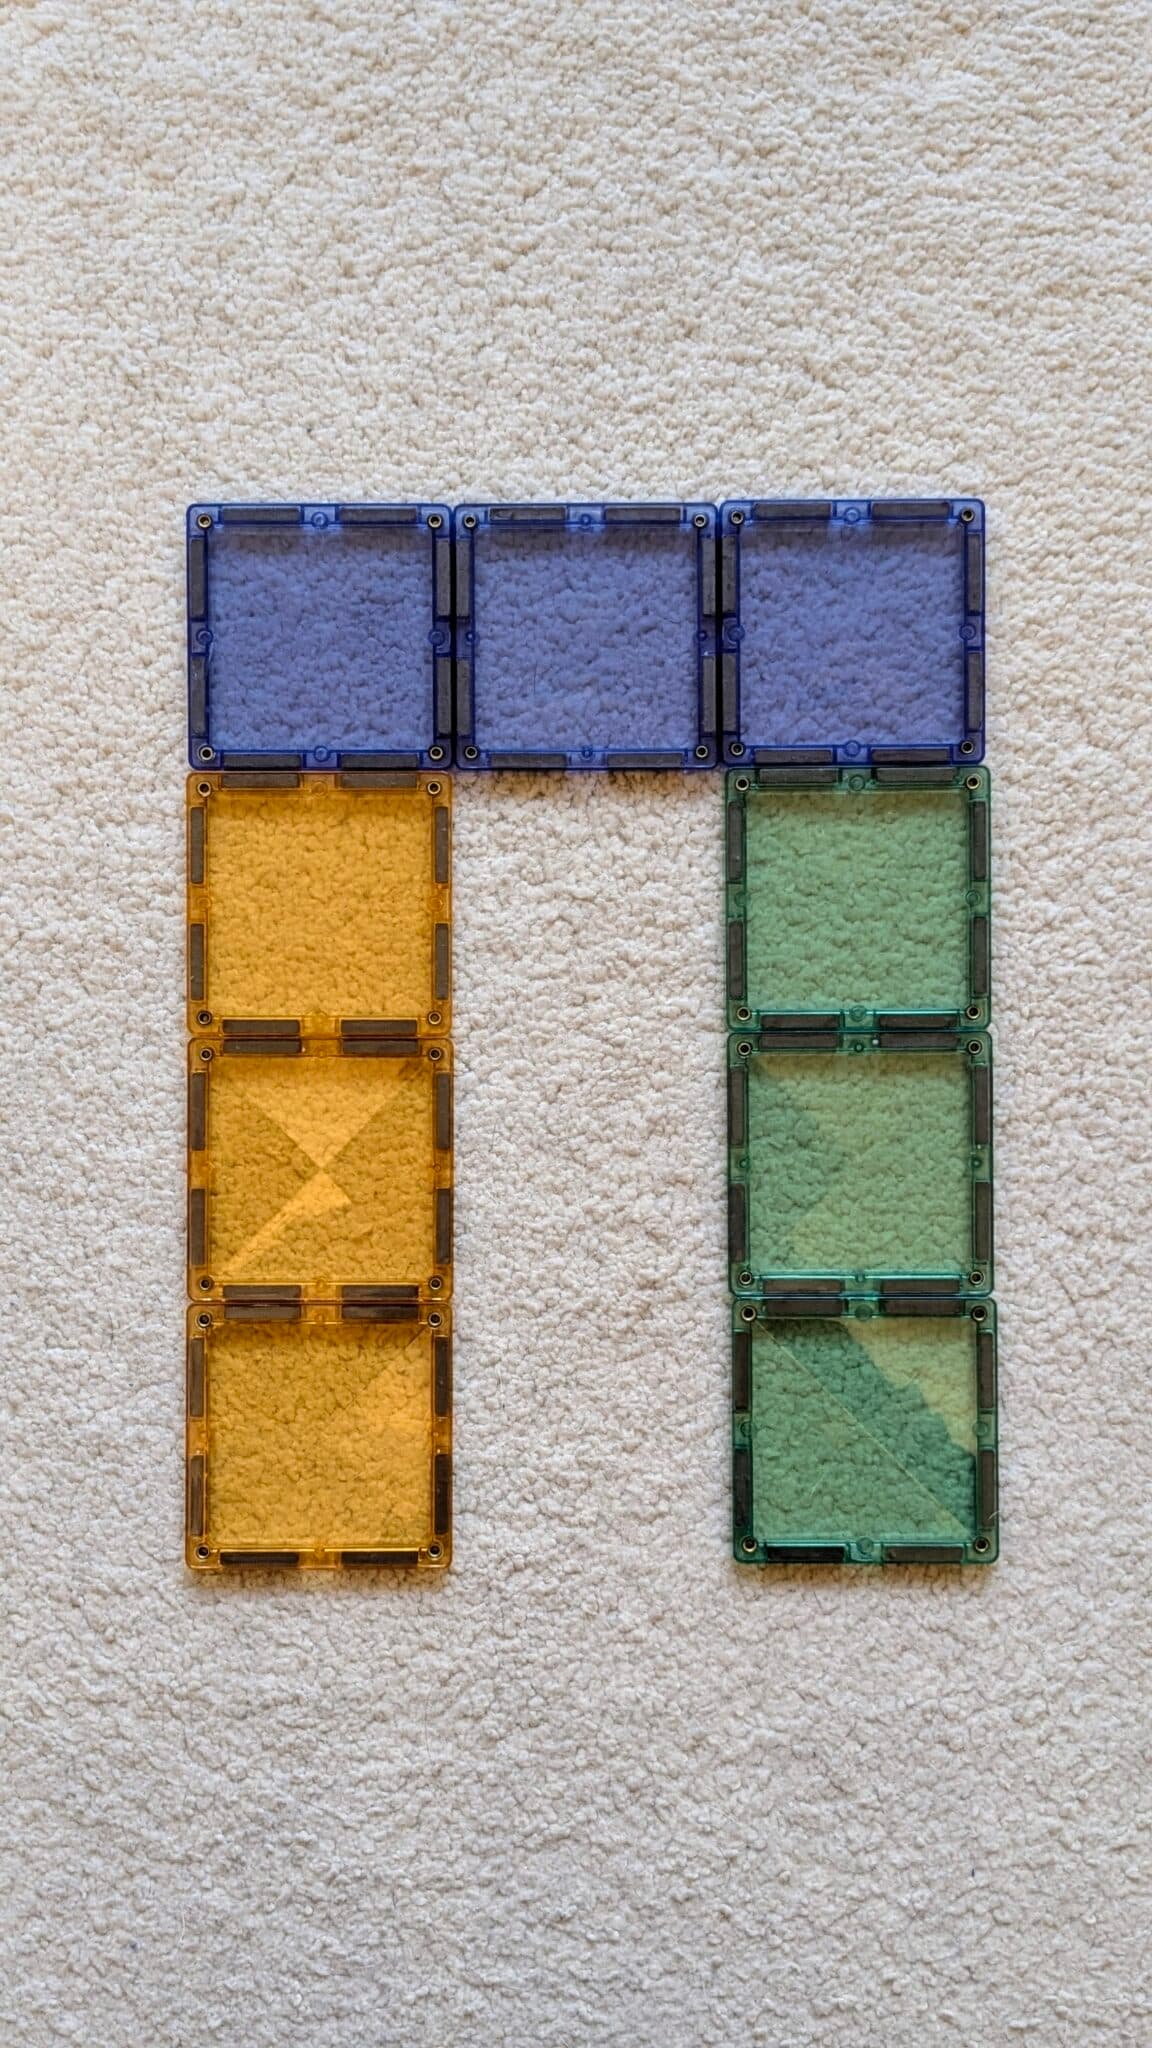

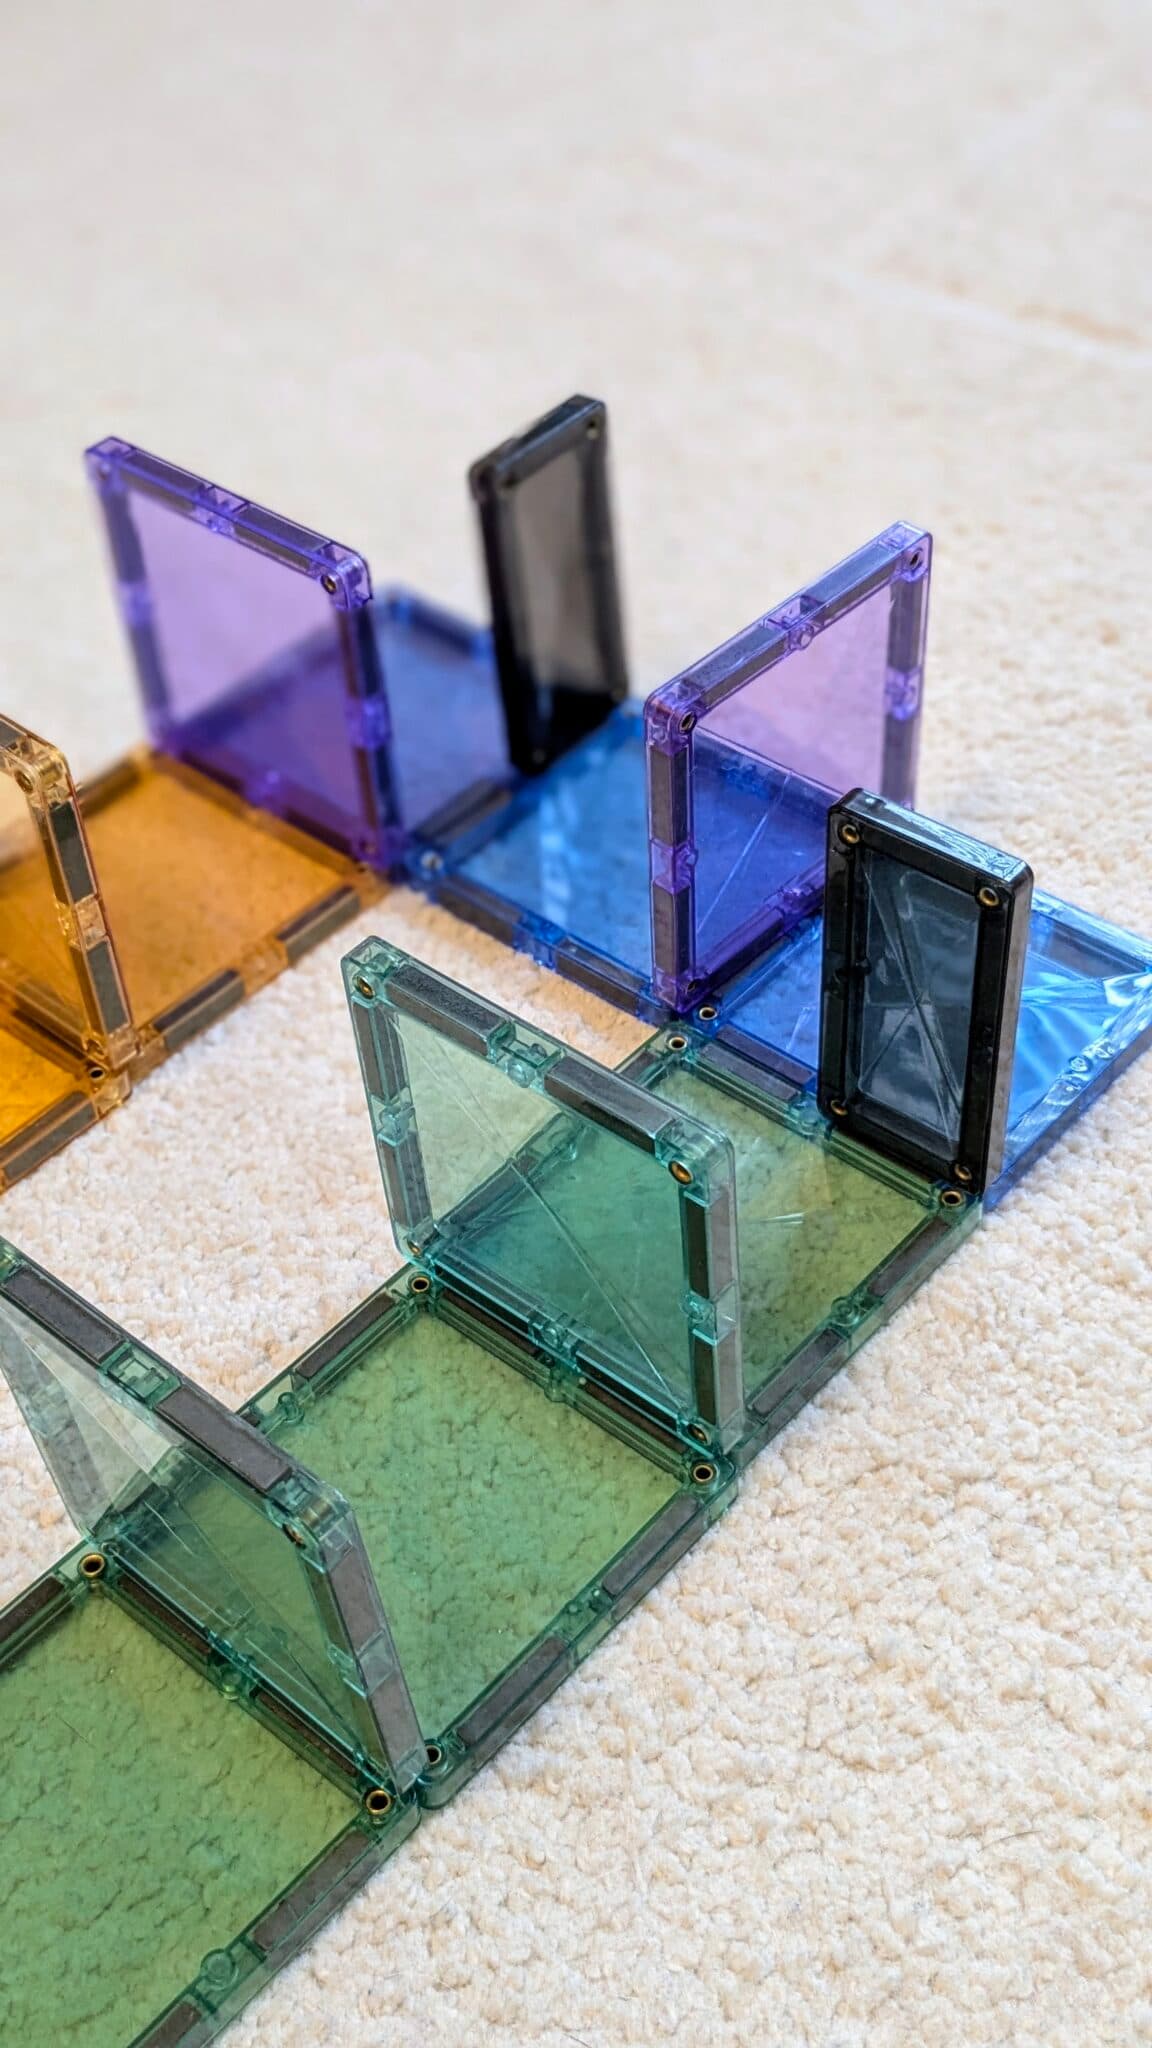


2. Attach an isosceles tile to the side of a square tile on Track 1.
3. Place the tracks closely so that the isosceles tile on Track 1 is positioned between two square tiles on Track 2. When the square and isosceles tile combination falls in Track 1, it triggers the domino sequence in Track 2.
Unlike the previous strategies, this method does not require additional trigger tiles. Instead, the falling tile from one track directly initiates the sequence in the adjacent track.
Instructions:
.jpg&w=3840&q=75)
2. Position the tracks close enough so that when a square tile falls on Track 1, it directly impacts a tile in Track 2.
3. Once the first domino sequence collapses, the impact transfers momentum, initiating the sequence in Track 2.
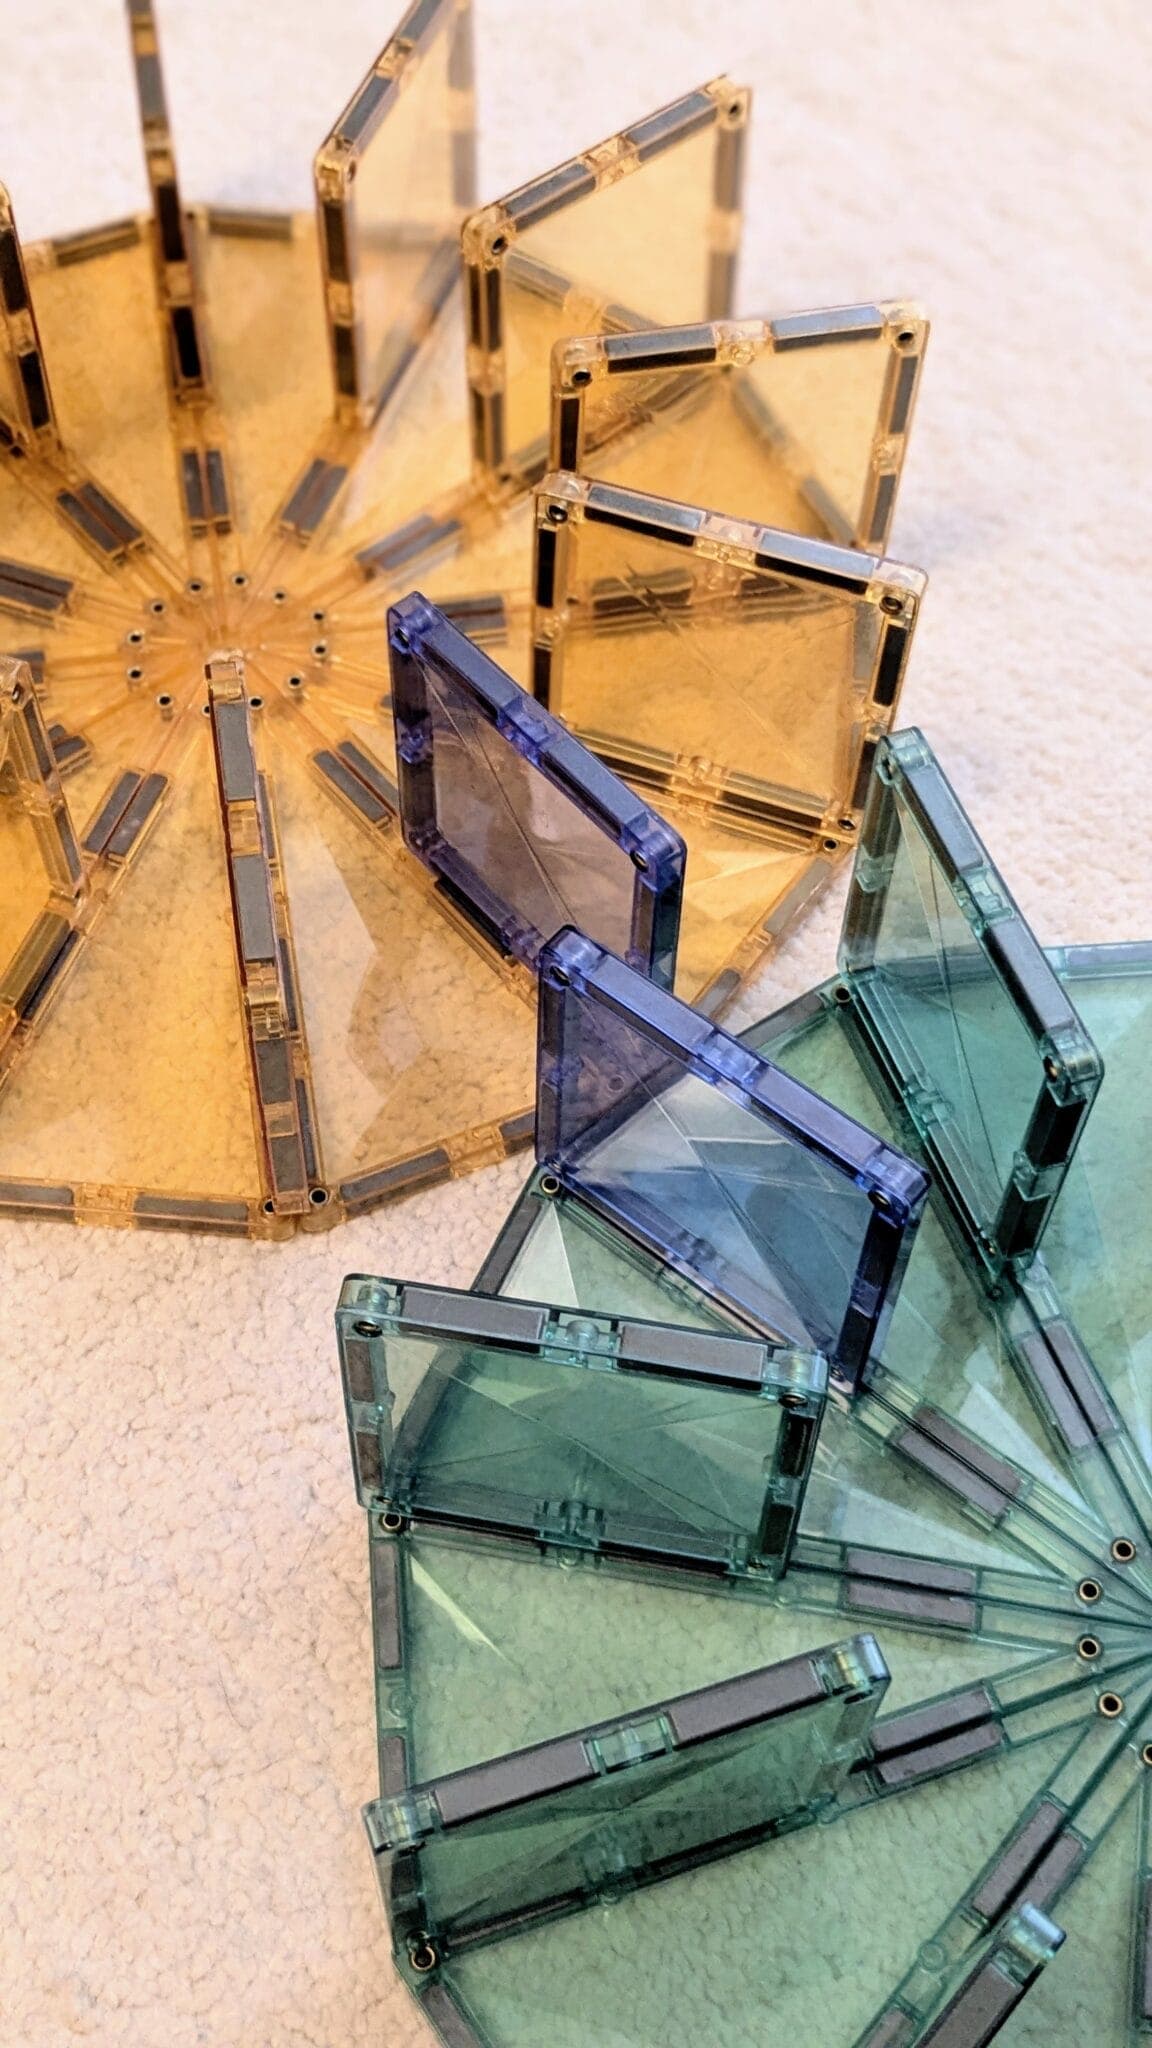

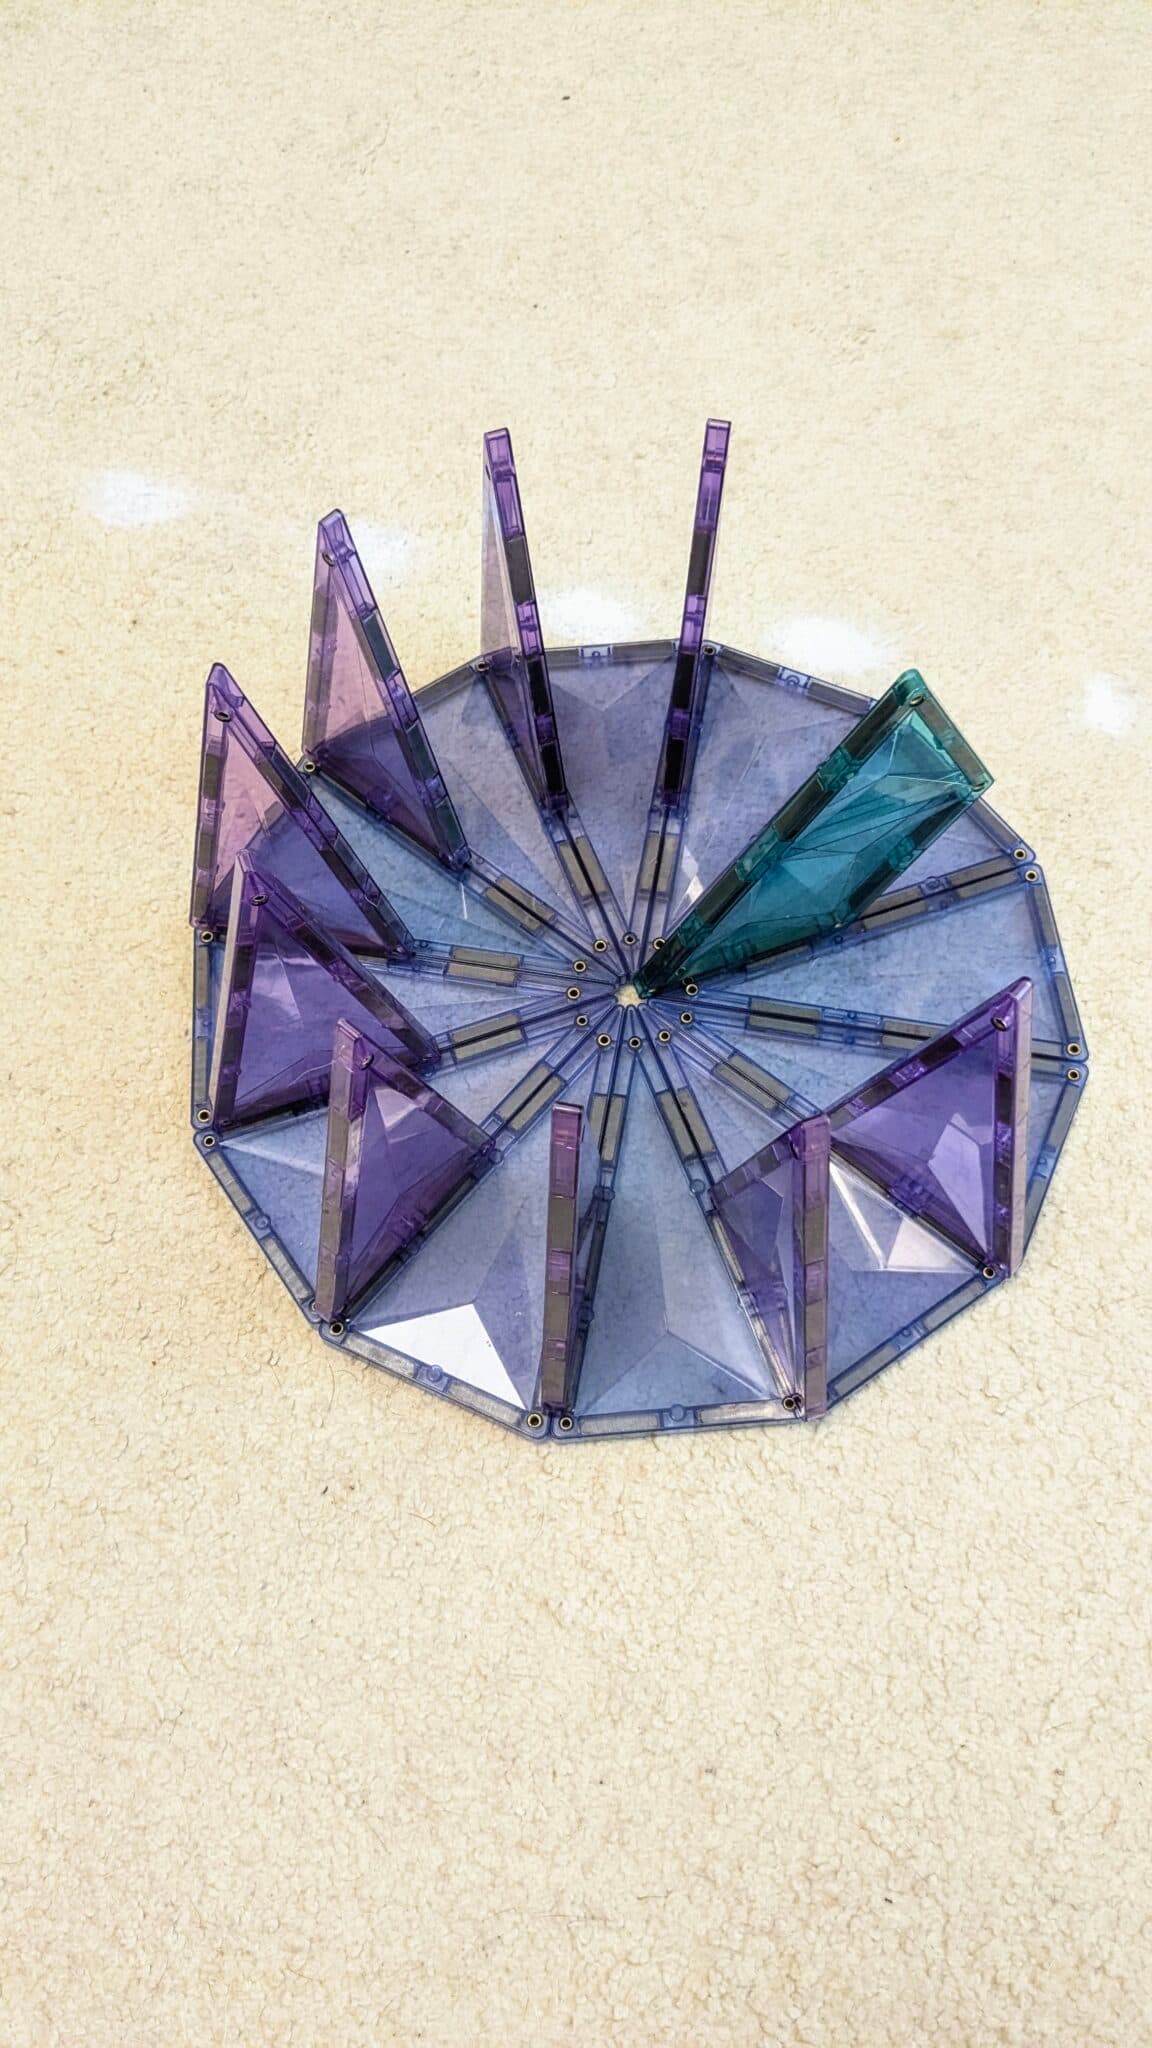
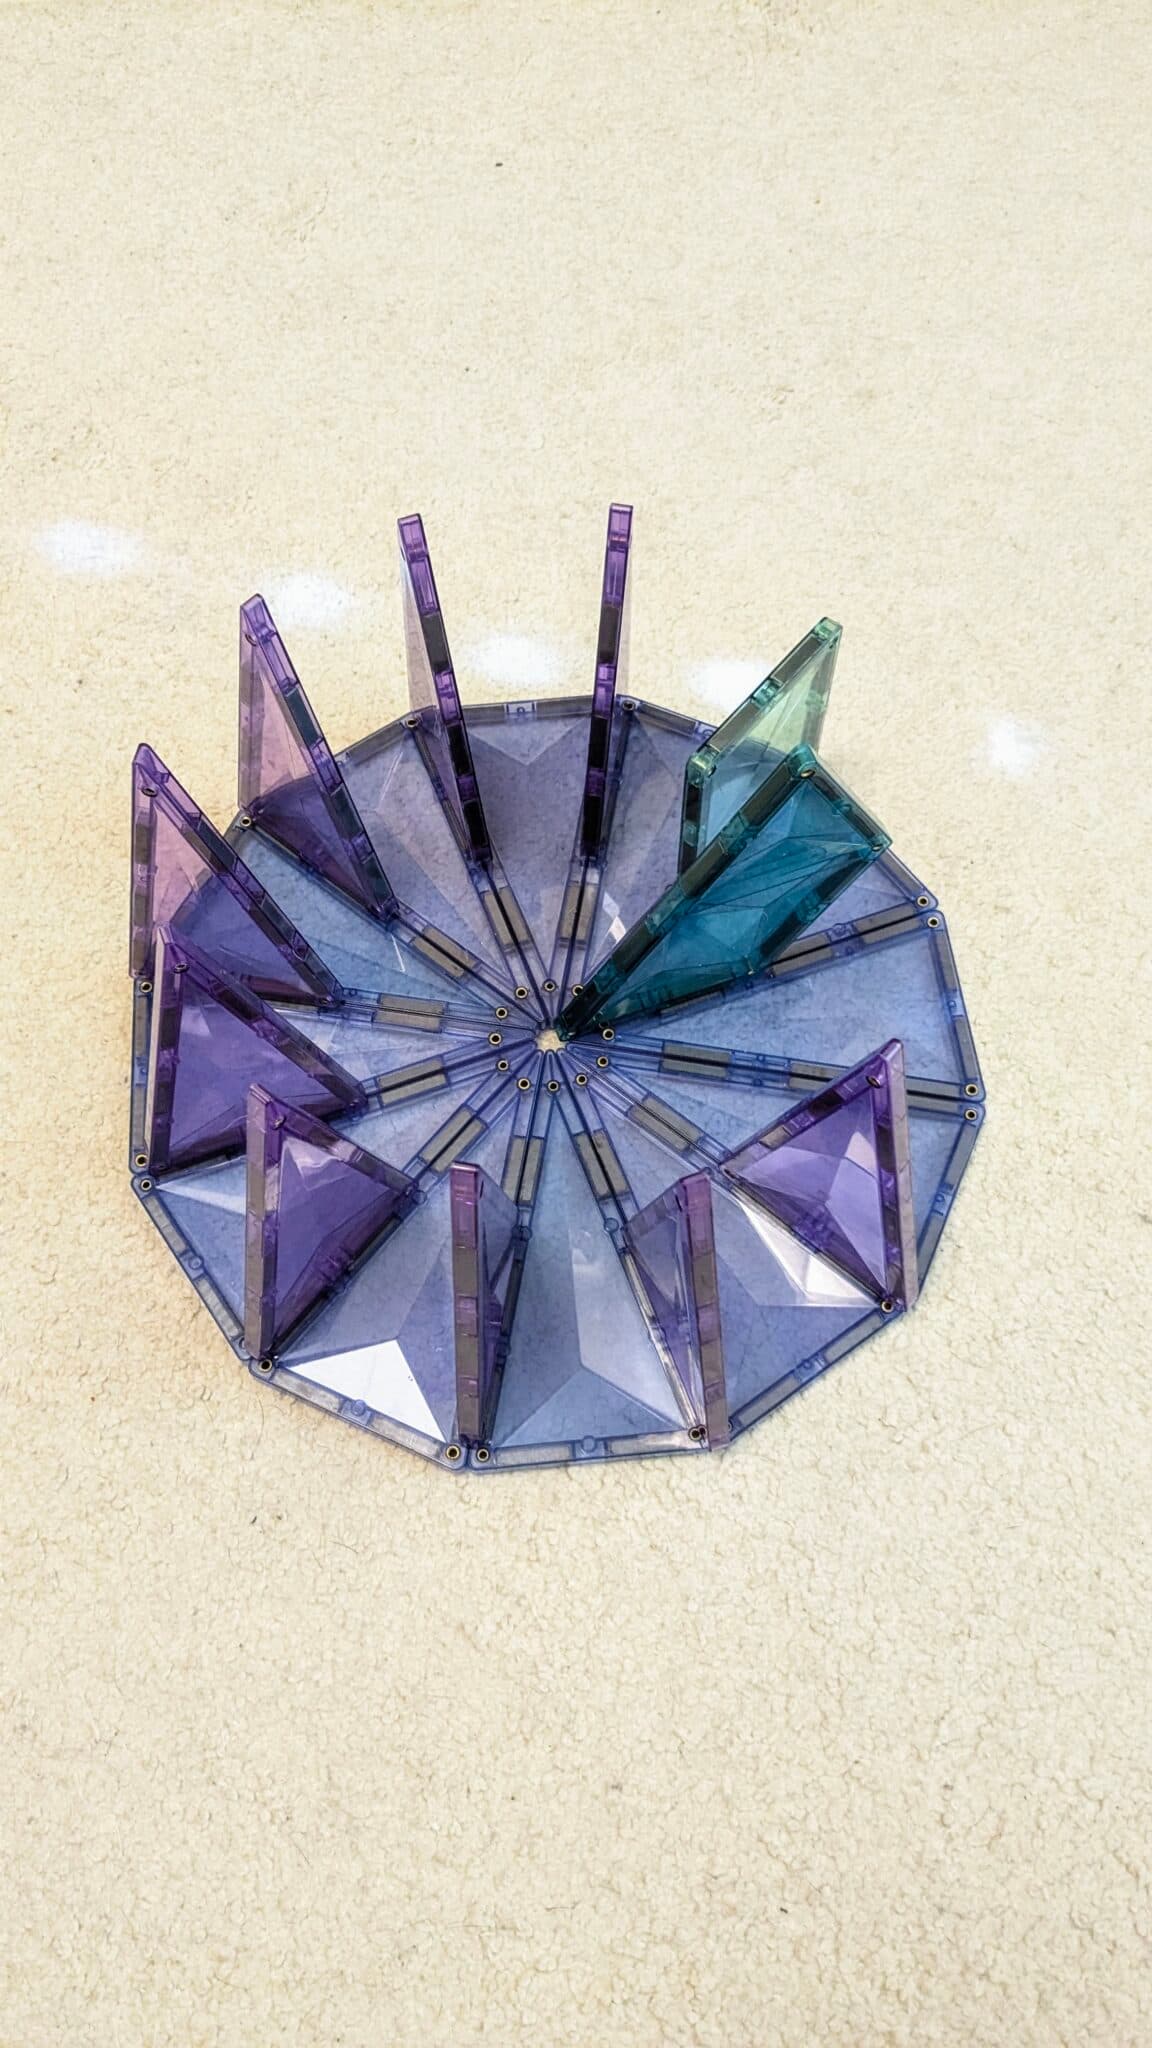

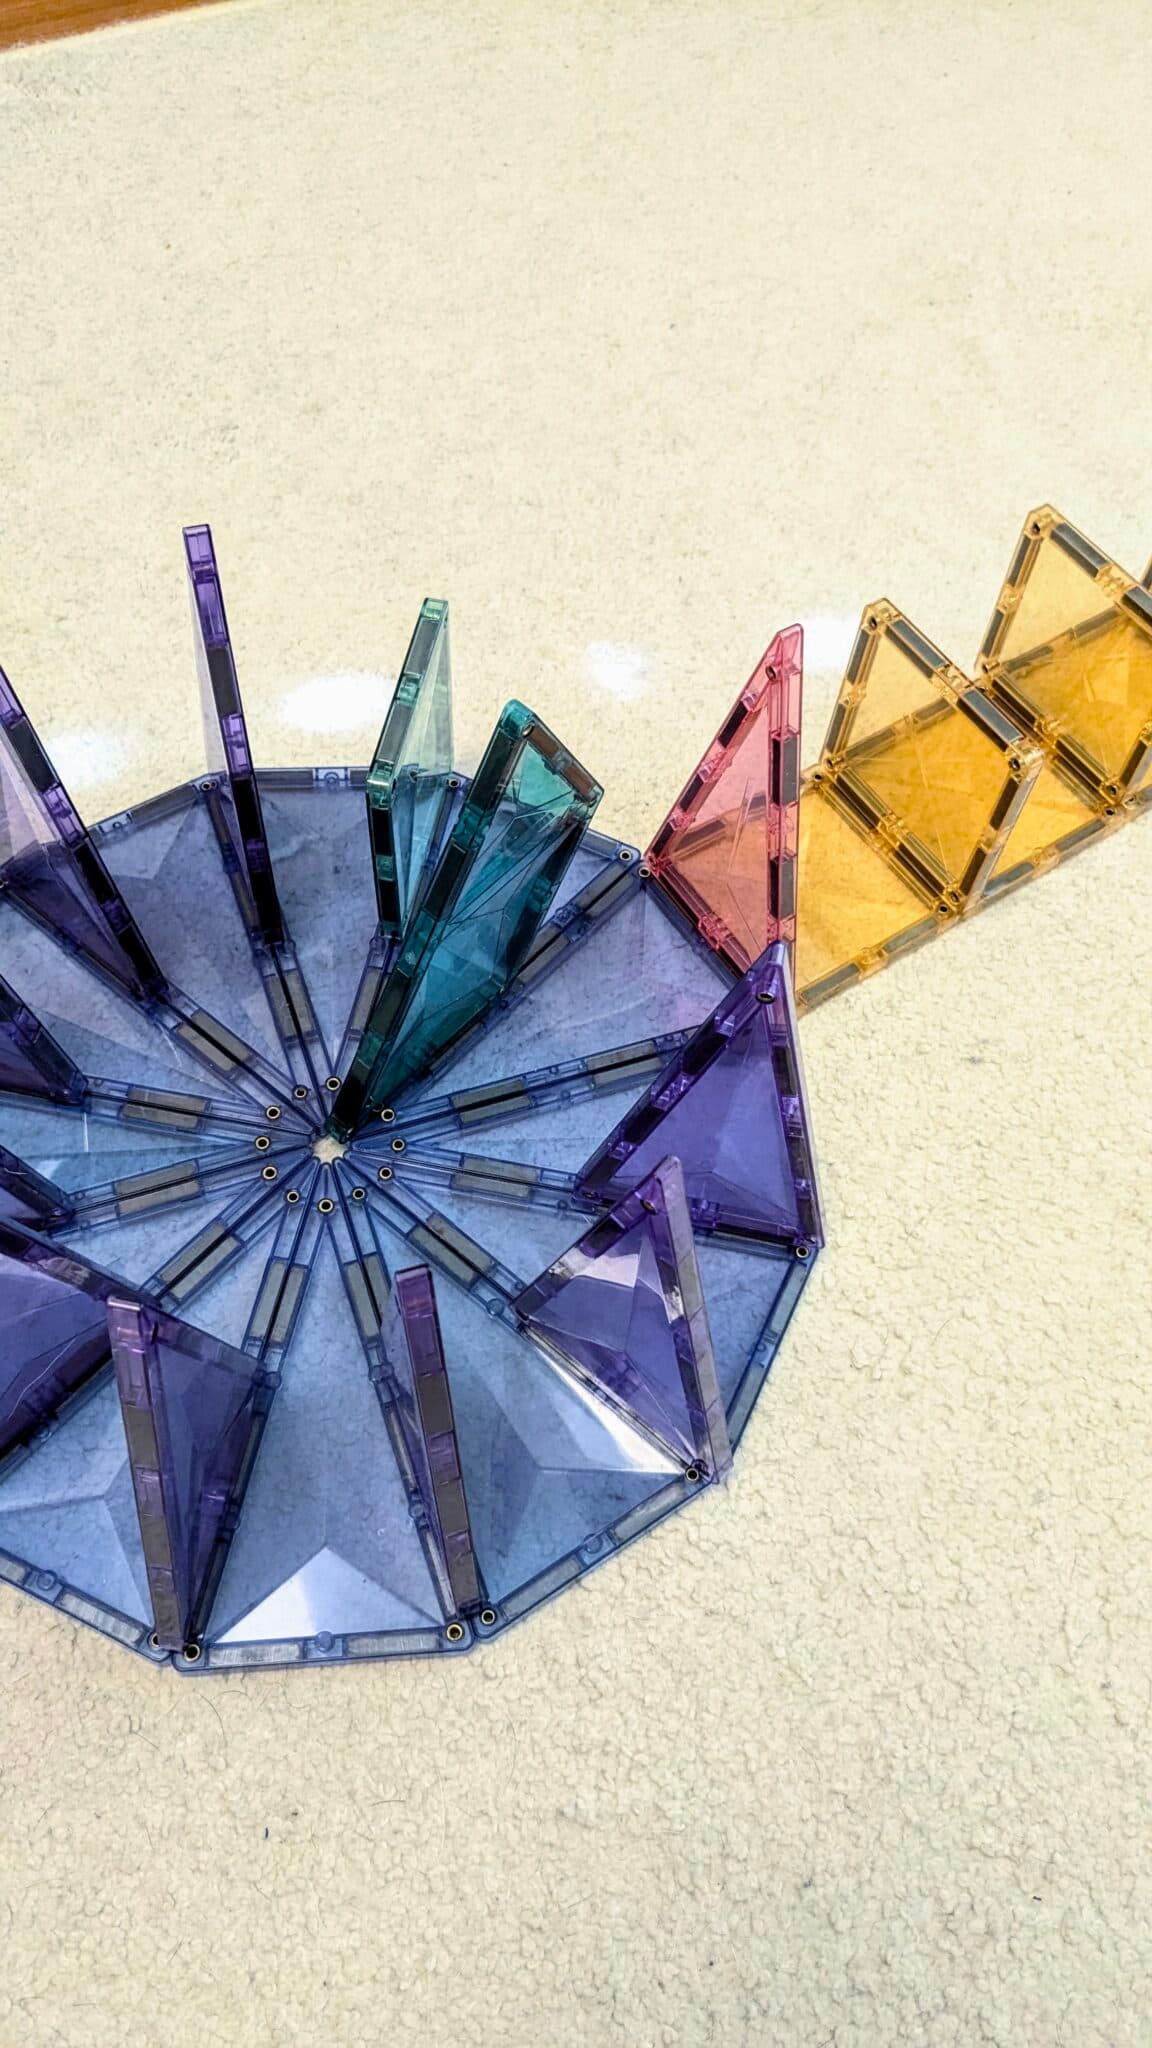
As the straight track’s sequence collapses, the isosceles triangle falls onto the circular track, initiating its domino effect
Alternative: Other tile shapes can be used to continue the domino sequence as long as sufficient momentum is maintained.
1. Create a circular domino track using 12 isosceles triangles.
2. On the track, place 11 isosceles triangles and one diamond tile with its pointed end facing inward.
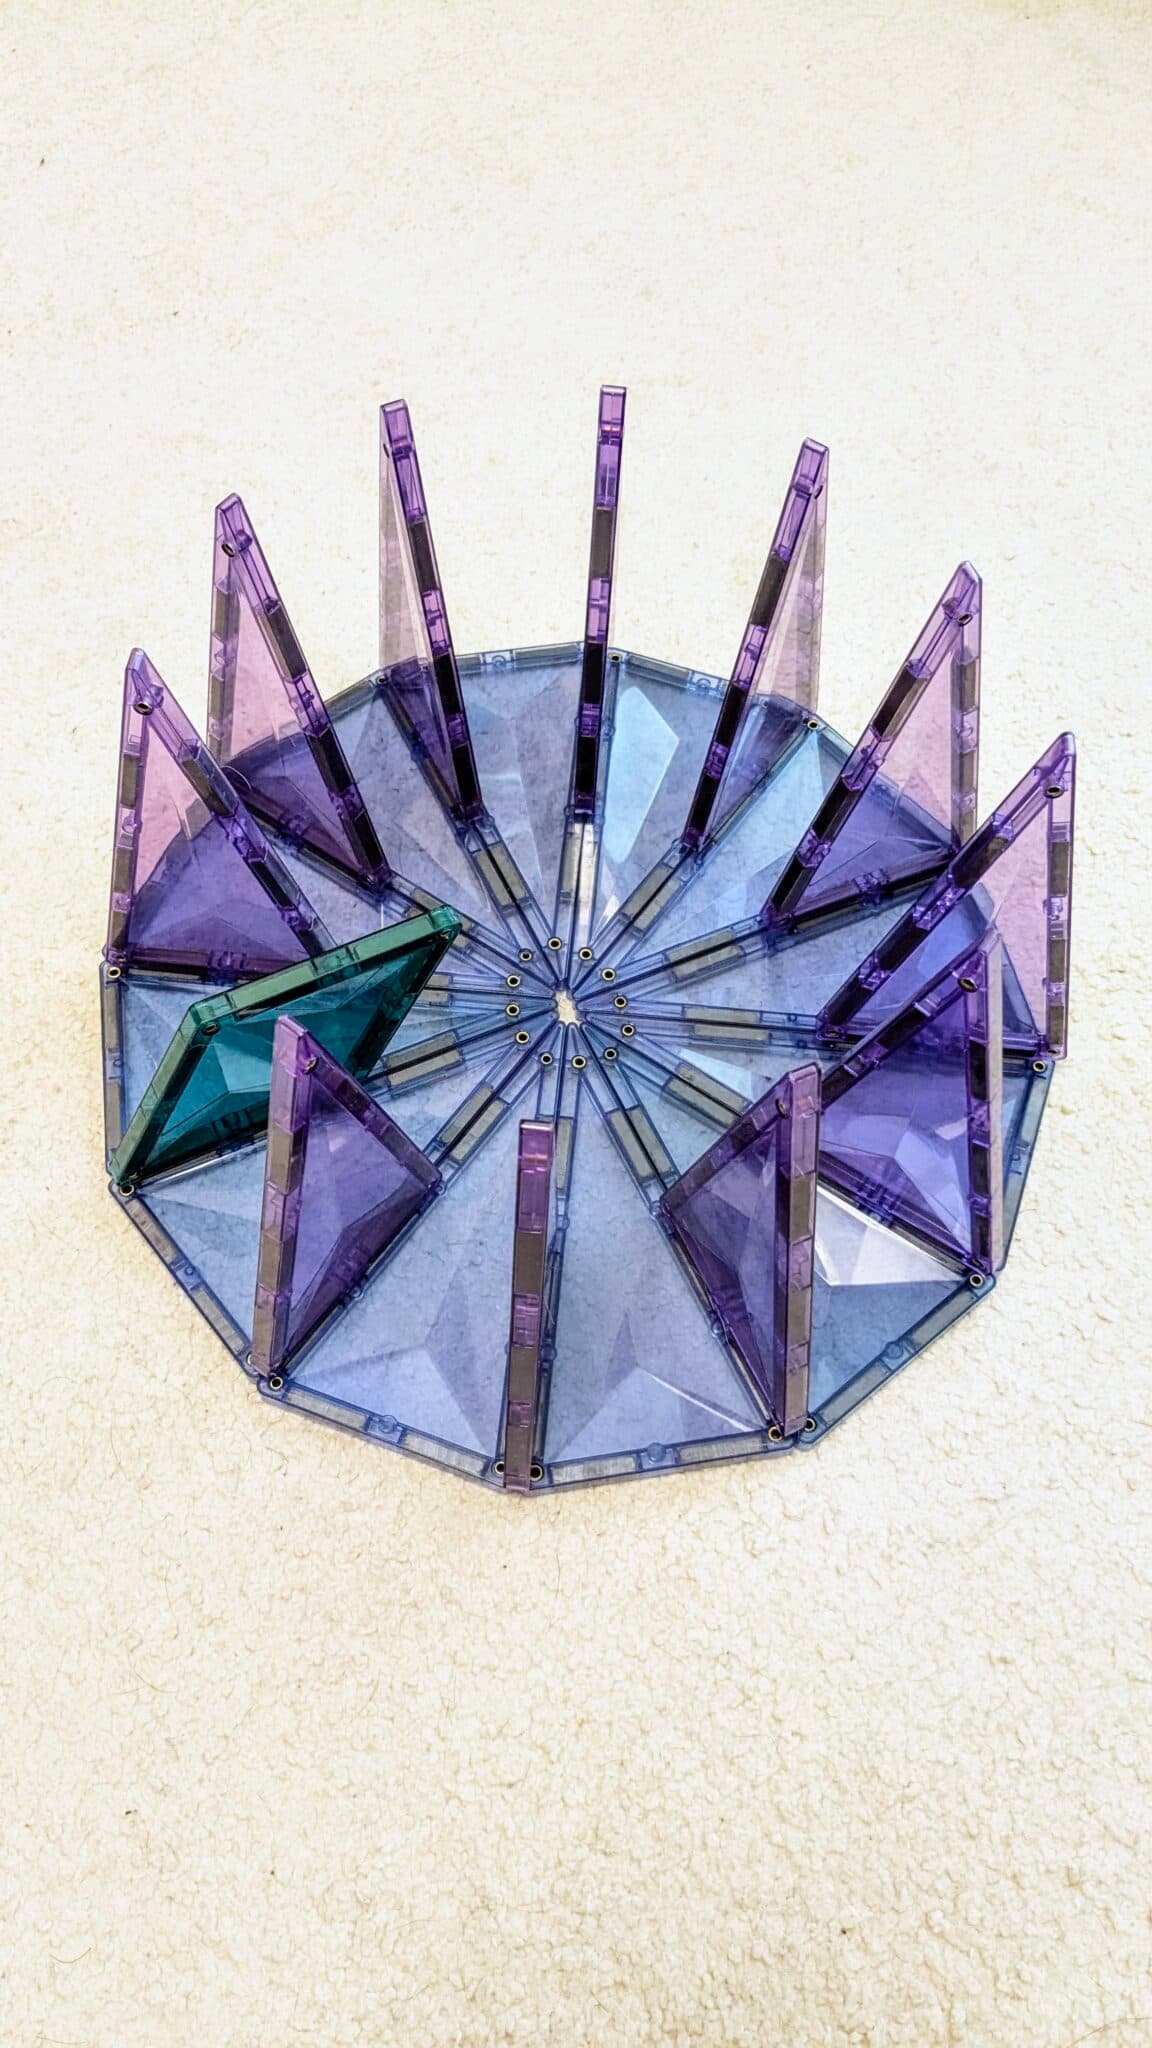

4. Place a square tile at the junction where the two tracks meet.
5. When the isosceles tile before the diamond tile falls, it simultaneously knocks over the square tile (triggering the straight track) and the diamond tile (continuing the circular sequence).

Note: The diamond tile provides a smoother transition than an isosceles triangle, as it reduces the likelihood of the square tile on the junction getting stuck.
Conclusion
The methods outlined here serve as a foundation for expanding your domino-building expertise. However, creativity is limitless—by experimenting with different shapes, angles and tile combinations, you can design intricate, visually stunning and intellectually stimulating domino sequences. Whether you’re a beginner or an experienced builder, these techniques will help you push the boundaries of domino design and create seamless, dynamic chain reactions.
Menu
 Australia